
You've got a patio that looks tired by June. The strip of grass beside it is bare where feet and paws cut the corner, muddy after rain, and dusty a week later. Turf for patio edges and surfaces can solve that cycle, but only if you treat the job as a drainage problem first and a product choice second.
Most failures don't start with the color of the blade. They begin when water has nowhere to go, when a slab pitches toward a door, or when a sunny concrete corner gets too hot for bare feet. Pick the right specification, build a firm base, prove the runoff route, and plan for heat before you buy a roll. That's the order that gives you a surface you can live on.
Pick the Right Turf for Your Patio Type
Start with this rule today. If your patio gets full afternoon sun, rule out any product without a clear UV stabilization statement in writing. Cheaper fibers fade and turn brittle in a few seasons, and no amount of brushing brings that resilience back.
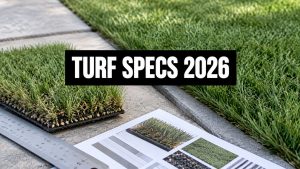
| Patio type | Pile height | Backing and drainage | UV and heat rating |
|---|---|---|---|
| Shaded covered patio | 3/4 to 1 inch | Perforated polyurethane or latex backing | UV-stabilized; lower heat load |
| Full-sun concrete patio | 1 to 1.25 inch | Perforated high-density polyethylene | High-density, UV-stabilized fiber |
| Pet run or heavy-use balcony | 1 to 1.5 inch | Multi-hole backing with drainage ports | UV-stabilized, heat-resistant fiber |
| Poolside patio | 3/4 to 1 inch | Perforated backing that sheds splash | UV-stabilized with textured, slip-resistant face |
Match the Specification to the Exposure
A shaded covered patio doesn't need tall pile. At 3/4 to 1 inch, fibers stay upright under chairs, dry faster after cleaning, and collect less dirt. Moisture and tracked-in grit matter more here than sun, so a perforated backing matters more than a lush look.
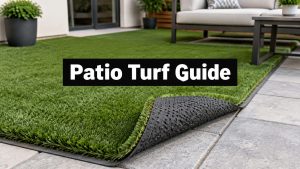
A full-sun concrete patio needs 1 to 1.25 inch pile in UV-stabilized fiber on perforated high-density polyethylene. The slightly taller pile cushions the hard slab and hides minor surface variation, while the UV package protects against fading and brittleness. For Central Texas, we recommend high-density, UV-protected polyethylene turf because density helps the face recover after furniture and foot traffic compress it.
A pet run or heavy-use balcony moves up to 1 to 1.5 inch pile for resilience. The backing is the deciding feature, because urine and rinse water have to exit fast instead of sitting in the thatch. Choose a multi-hole backing with clear drainage ports, not a mostly solid sheet with a few token holes.
A poolside patio works better with lower pile and a textured, slip-resistant face. Water should shed through the perforated backing without trapping chlorinated splash against the slab. Shorter fibers also make it easier to brush out sunscreen, sand, and pool debris.
Three Checks Before You Pay
- Get the UV rating in writing: Ask for the stabilization statement on the spec sheet, not a verbal assurance from a salesperson.
- Turn the sample over: Confirm you can see drainage holes across the backing. A solid sheet traps water on concrete and slows drying on soil.
- Choose infill for the use: Use silica sand for general patios to weigh fibers down and help them stand. Use an antimicrobial infill for pet areas where odor control matters.
Think about the whole outdoor room while you're choosing, because shade structures, seating zones, and traffic paths change which turf makes sense. Good outdoor space planning with FenceScape helps you place those elements before you lock in materials. If you're still comparing fiber families and pile constructions, review the main turf types and their residential uses before you order samples.
Practical rule: Buy for the harshest condition your patio actually faces, whether that's afternoon sun, dog urine, pool splash, or chair legs grinding in one spot.
A mismatched product creates problems installation can't fix. Pet turf without fast drainage will smell, sun-exposed turf without UV protection will age early, and tall plush pile under dining chairs will mat. Get the specification right, then make the base worthy of it.
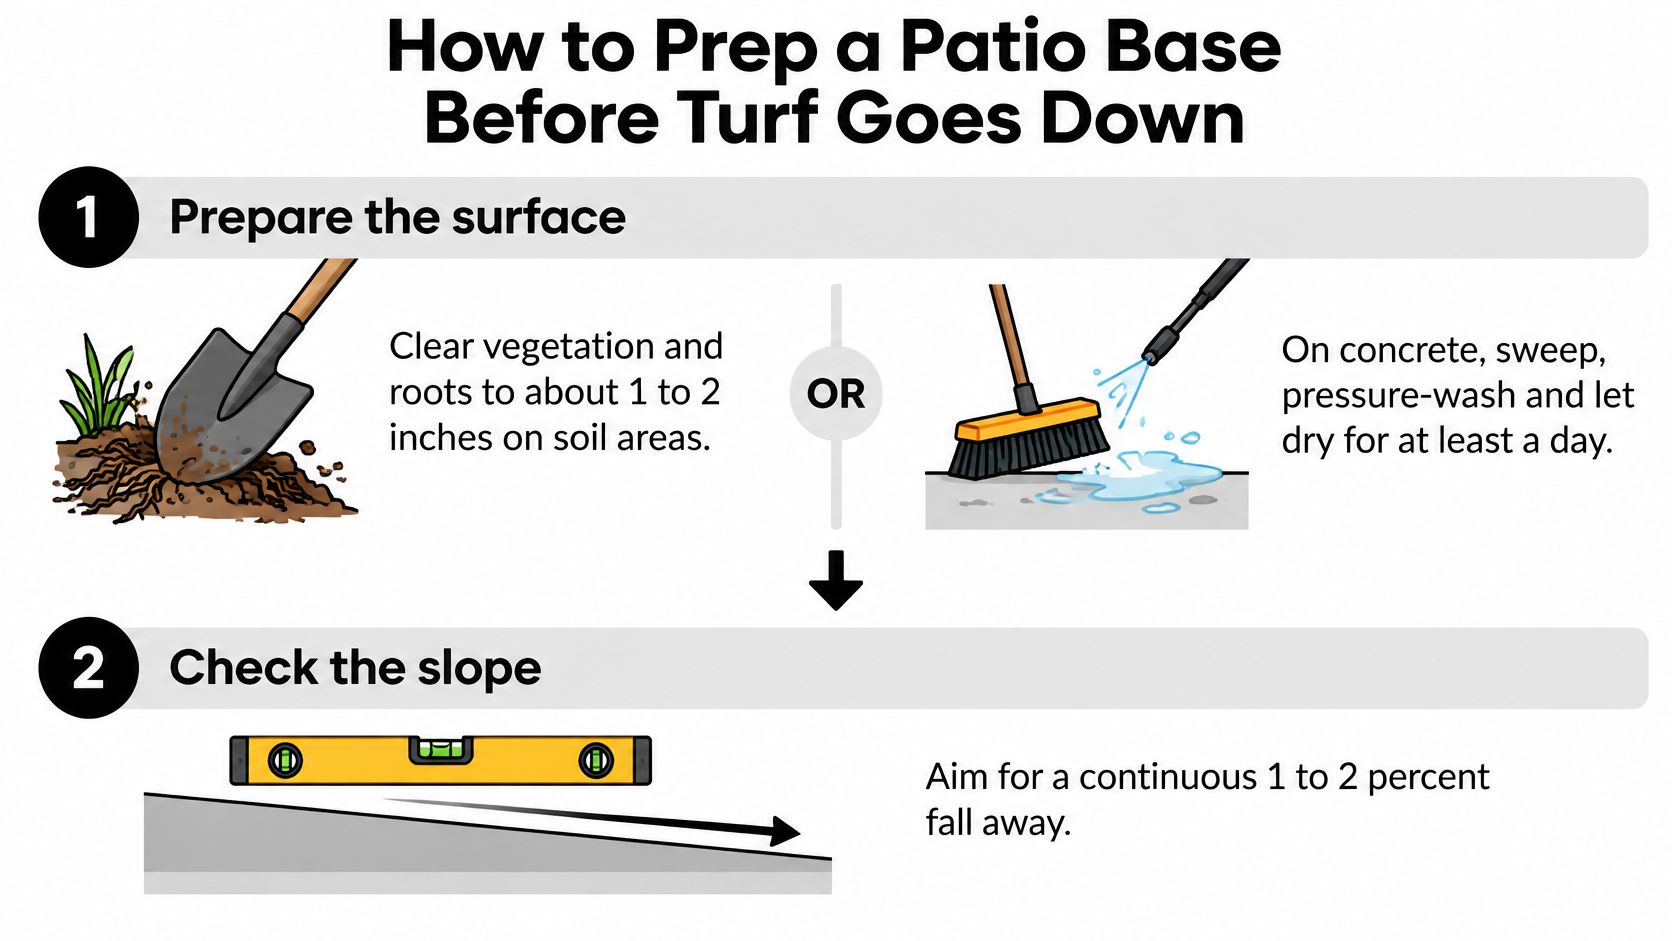
How to Prep a Patio Base Before Turf Goes Down
Good patio turf sits on boring work done correctly. Follow the drainage-first sequence in this step-by-step artificial grass installation guide, which calls for removing vegetation and roots to approximately 1 to 2 inches, excavating another 3 to 4 inches, and shaping the subgrade to a continuous 1 to 2% fall away from buildings. Those numbers give you room for a compacted base without raising the finished turf above the patio edge.
Build the Base in Order
- Clear the surface: On soil, remove vegetation and roots to about 1 to 2 inches so organic material doesn't decay and settle later. On concrete, sweep, pressure-wash, and let the slab dry for at least a day before you judge cracks or low spots.
- Check the slope: Stretch a string line or use a laser level and confirm a continuous 1 to 2 percent fall away from the house. Fix low spots now, because turf follows the base and won't hide a birdbath.
- Excavate for the base: Dig another 3 to 4 inches on soil for a standard patio edge. Go 4 to 6 inches under heavy-use zones such as grill stations, pet runs, and main walkways.
- Add drainage where clay holds water: Lay perforated drain pipe at low points when ponding makes surface drainage unreliable. Give that pipe a real outlet, not a dead end buried in clay.
- Place angular crushed aggregate: Spread it in lifts of about 2 inches, mist lightly, and compact each lift before screeding. Don't substitute rounded gravel, because rounded stone rolls under load instead of locking together.
- Run the acceptance test: Walk the base repeatedly in different directions. It passes when you see no visible movement or significant foot imprint under your steps.
- Prepare concrete differently: Fill cracks, confirm the slab doesn't pitch toward doors, and plan turf-grade adhesive along the perimeter. A slab that drains toward the house needs correction before turf covers the evidence.
The Mistake That Undoes Good Work
Don't treat weed fabric or turf backing as drainage. Neither corrects a low spot, an impermeable subgrade, or runoff aimed at a patio. Fabric can separate soil from aggregate where the design calls for it, but it can't create fall or outlet capacity.
Before turf goes down, hose-test the finished base. It should feel firm, read level along your string line, show no standing water, and send runoff along a clear path away from doors and foundations. If you want more detail on layers and materials, see what goes under artificial turf before you start excavating.
Secure the perimeter after installation so edge settlement doesn't create a trip hazard. Then inspect every patio interface after the first hard rain. Trapped runoff at a slab edge tells you the base or outlet needs attention while the fix is still small.
Drainage Checks and Runoff Routes
A patio can have correctly rated turf and still flood if the water has nowhere to go. Check the runoff route first, then assess how quickly water passes through the turf assembly and base.
| Check | Typical benchmark | How to verify |
|---|---|---|
| Turf, backing and infill assembly | About 10 inches per hour | Test the compacted assembly, not loose materials |
| Base and finish stone | About 14 inches per hour | Test compacted sections |
| Field flood test | Water clears along the intended route | Record the volume, time and area of spread |
| Patio edge and outlet | Runoff leaves without pooling at doors | Water-test the route and inspect after rain |
The 10- and 14-inch-per-hour figures are drainage benchmarks cited in ASTM's release on synthetic turf drainage. Test after compaction, because compacted materials can pass water differently from loose aggregate. A pile of stone does not show how the finished patio will drain.
Run a Home Water Test
Pour a measured amount of water onto the compacted base or a representative test section. Time how long it takes to clear and note where it spreads. This gives you a practical check of flow and migration, though it is not a formal ASTM F2898 test.
If water lingers, moves toward a door, or backs up at a curb, correct the grade, outlet, or drain capacity before installing turf. Common problems include clogged fines, a poorly graded base, an undersized outlet, and slabs or curbs that block the flow path.
Trace Every Type of Water
Before installation, answer one question: Where will rain, pet urine, wash water, and cooling water go? Permeable backing does not ensure that water will drain off a concrete slab, balcony, or enclosed patio. For a slab, review artificial grass drainage on concrete and check that the existing drain connects to a workable discharge route.
Record the destination, such as a storm drain, lawn area, French drain, or rain garden. Make sure water will not collect against the foundation or patio doors. Where specified, separator fabric can help limit soil migration into the base. On balconies, confirm the deck's drain path and have a qualified professional check load limits before adding turf, infill, and retained water.
Keep infill out of the discharge route. Use granulate traps where water exits and sweep loose material off paving so runoff does not carry it toward drains.
Turf alone does not fix a soggy yard. Drainage tile, grading correction, or a redesigned outlet may need to come first.
An outlet is easier to redesign before installation than after runoff gets under a door and finished turf has to be lifted.
Heat Limits and Shade Planning
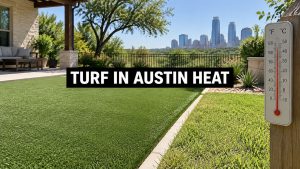
Cooling infill doesn't solve patio heat by itself. That's the assumption to drop first. Surface temperature is what burns feet and paws, and the surface can be far hotter than the air around it because concrete stores heat and re-radiates it into the turf.
Hosing gives brief relief, then the surface reheats quickly. You'll spend water for a short window of comfort and still face the same problem at the next peak. Treat irrigation as a short-term tactic, not your heat plan.
Build a Site Heat Plan
- Add real shade: Use a pergola, awning, shade sail, or tree canopy over the main sitting and play zone.
- Work with orientation: Put barefoot areas where the house or fence blocks late-afternoon sun, not in the most exposed corner.
- Choose lighter infill where suitable: Pair it with shade and scheduling rather than expecting infill alone to carry the result.
- Set use times: Keep children and dogs off exposed turf during peak sun until you've measured your own surface.
Buy an infrared thermometer and test on a hot afternoon. Log readings on the turf, on adjacent concrete, and in shaded areas at the same time. Then set a personal cutoff for barefoot children and dogs before the first summer party, based on what your own hand and feet can comfortably tolerate.
Engineered field systems with below-surface water storage and capillary layers have produced much cooler surfaces than conventional turf in research settings. Don't treat a field system result as a guarantee for a small residential patio with different depth, edges, and sun exposure. Your measurement on your slab matters more than a product claim.
Compare turf with adjacent hard surfaces too. If you're redesigning the whole patio floor, a renovator's guide to outdoor tile safety is useful context for slip resistance where tile meets turf and wet feet move between them. For more on surface temperatures and pet safety, see how hot artificial turf gets before you commit to a full-sun layout.
Where shade is limited and your thermometer shows surfaces staying hot through the hours you'd use the patio, choose a planted or hardscape alternative. I'd rather tell you turf is the wrong surface for that corner than sell you a product you'll avoid all summer.
Edging, Seams and Monthly Upkeep
A loose perimeter is usually the first thing that fails on a patio. Feet catch it, chair legs push it, dogs dig at it, and storm water works underneath it. Start with the edge, then make seams disappear, then keep a simple routine.
Lock the Edge and Hide the Seam
Set a metal or concrete edge where turf meets the slab or pavers. Fix it firmly enough that foot traffic can't lift or shift it, and keep the finished turf height flush enough to avoid a trip lip. On soil edges, secure the perimeter so settlement doesn't open a gap.
For seams, butt the rolls tight with fibers running the same direction. Lay seam tape under the join, apply turf adhesive, press both edges into the bond, and weight the seam until the adhesive sets. Brush fibers back over the join after it cures so the line doesn't read as a stripe in afternoon light.
Don't rush this part to save an hour. A seam that opens collects grit, lifts at the corners, and turns a clean patio into a repair project. Proper installation includes precise grading, professional seaming, correct infill distribution, and proper perimeter securing, because each step protects the next one.
Keep a Routine You Will Actually Follow
- Clear debris weekly: Remove leaves and twigs so they don't hold moisture against the backing or stain the fibers.
- Rinse monthly: Flush dust and pet urine with a gentle spray. Don't use high pressure, because it throws infill out of the pile and can disturb seams.
- Top up infill yearly: Add material where pile looks flattened or the surface feels hard, then brush it in against the grain.
- Inspect after heavy storms: Walk edges and seams, look for trapped runoff, and reset any lifting section quickly before traffic makes it worse.
- Clean pet areas with enzyme cleaner: Pick a product made for pet waste on synthetic turf. Strong chemicals can fade fibers and damage coatings.
Avoid three common slip-ups. Pressure washing strips infill and forces dirty water into seams. Bleach dulls fiber color and can weaken the surface. Heavy furniture left in one spot for weeks crushes pile and leaves dents that take repeated brushing and infill work to correct, so move planters and loungers periodically.
Brush against the grain with a stiff broom after rinsing and infill top-ups. Upright fibers drain, dry, and look better than fibers pressed flat.
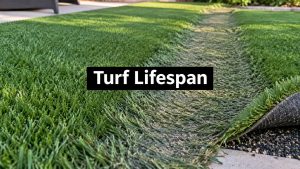
Use a clear repair-or-replace rule. Repair a single lifted seam, a small edge failure, or one flattened traffic lane that responds to brushing and infill. Consider replacement when drainage fails across the patio, fibers are worn flat over wide areas, backing is cracking, or multiple seams keep opening after proper repairs.
That distinction saves money. A localized failure usually points to an edge, seam, or outlet you can fix. Widespread failure points to the base or product specification, and patching the surface won't change the cause.
Book an On-Site Assessment Before You Buy
You can't judge slope, clay, shade, and runoff from a product photo. Book the site visit before you buy the roll, while changing the plan is still free.
During an on-site assessment, we check slope with a level, run a drainage test, and mark where runoff leaves the property. We note sun and shade across the day, pets, furniture, pool splash, and how you use the patio. You leave with a written estimate that itemizes base work, drainage, turf grade, infill, and edging, so every line has a reason you can question.
Modern Yard provides a free turf consultation and a free turf quote in Austin. Use that visit to get specifics, not a sales pitch. For Central Texas sun, we recommend high-density, UV-protected polyethylene turf, and we'll explain when a different pile, backing, or non-turf surface fits your patio better.
Proof You Can Check
Trust should come from evidence you can verify. Ask for dated project photos, the written scope of work, and clearly labeled warranties that state what's excluded. Look for a review profile with mixed, detailed feedback rather than a wall of vague praise.
Reviews still influence decisions, but readers judge them critically. BrightLocal's 2025 Local Consumer Review Survey reports that 42% of consumers trust online reviews as much as personal recommendations, down from 79% in 2020, and 63% would lose trust in a business after seeing mostly negative written reviews. We should ask every customer for an honest review without steering toward a rating, and publish only testimonials from people who used the service.
Ask any installer these three questions before you sign:
- How is the base compacted and tested? You want lifts, compaction, slope checks, and a water test, not a vague promise.
- Where does runoff go? Make the installer point to the outlet and explain what happens in a heavy storm.
- What does the warranty exclude? Heat damage, pet damage, seam failure, drainage, and furniture dents should be spelled out.
Call Modern Yard to schedule an on-site assessment for your patio. Bring your questions about drainage, heat, pets, and upkeep, and expect direct answers, including when turf isn't the right choice.
Ready to find out whether turf will work on your patio, or whether drainage and heat require a different plan first? Visit Modern Yard Landscapes to request your free turf consultation and free Austin quote, and we'll assess your slope, runoff route, sun exposure, and base conditions before recommending a product.