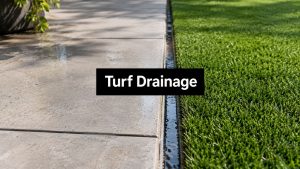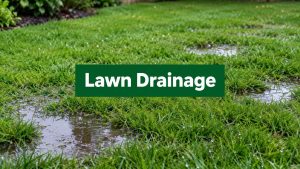

A lot of Austin homeowners end up in the same spot. The patio or side yard is concrete, the dogs have turned the rest of the yard into mud, and artificial turf seems like the clean fix. Then the first real stretch of rain hits, and suddenly the new grass smells sour, water sits underfoot, and one seam starts curling near the door.
That usually isn't a turf failure. It's a water-path failure.
On concrete, artificial grass drainage on concrete lives or dies by one simple question: where does the water go after it gets through the turf? If the slab is flat, the edges are sealed, or the outlet path was never planned, water has nowhere to leave. It just lingers under the turf until you get odor, mildew, loose glue, and bubbling.
In Austin, that gets worse fast. We get hard rain, long heat, pet use, shaded side yards, and plenty of patios that were poured for furniture, not for drainage. HOA rules can limit visible drain details. Tight urban lots can make runoff direction a real issue. That means the right fix isn't one universal product. It's the right stack of slope, drainage layer, edge detail, and discharge path for your specific slab.
Why Artificial Grass Drainage on Concrete Goes Wrong
A failure job on concrete usually shows itself after the first serious rain. The turf still looks fine from ten feet away, but step on the dog run and water pushes under your shoe. A day later the pet corner smells off, and the seam by the back door starts to curl.
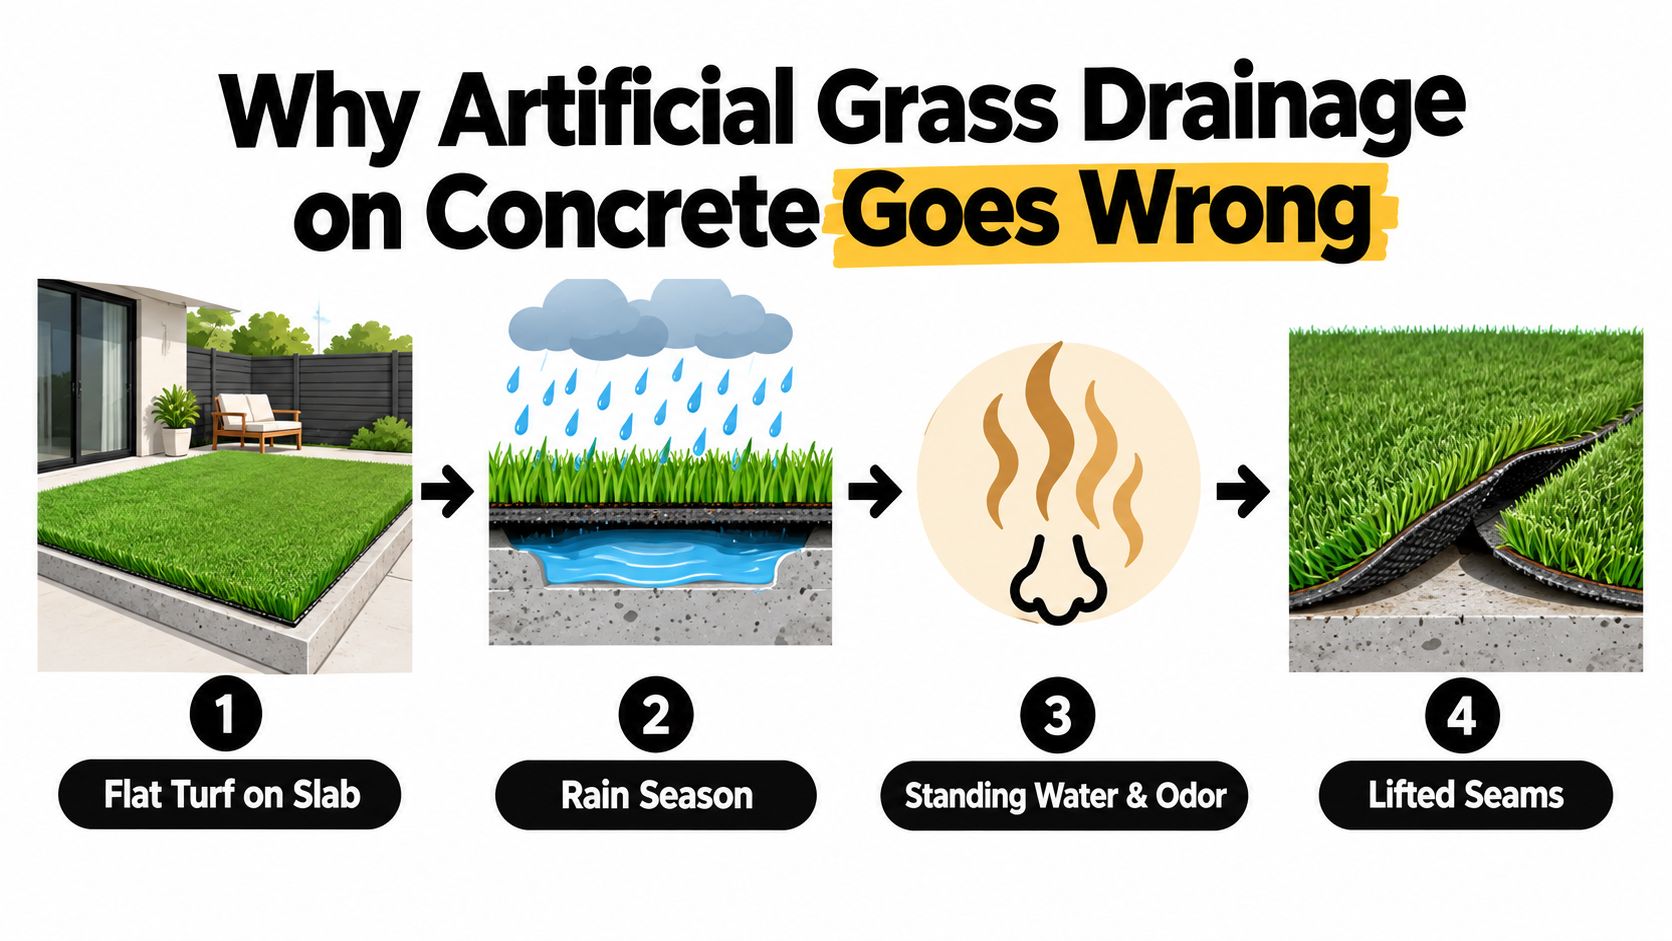
That failure starts below the turf face. Water drops through the blades and backing, hits the slab, and then has to travel sideways until it finds a way out. Concrete does not absorb anything, so the job succeeds or fails on runoff design. Guidance on artificial grass over hard surfaces makes the same point. Hard substrates need a drainage layer and a defined discharge route, not just permeable turf.
Where the stack fails
The backing is rarely the weak point. Turf products can pass a lot of water, but on concrete that only gets the water to the slab faster. From there, every bad detail starts to matter.
I see the same trouble spots over and over:
- Low spots in the slab: Water settles in birdbaths and never reaches the edge cleanly.
- No lateral drainage layer: The backing sits flat on concrete, so water spreads slowly and lingers.
- Tight edge detailing: Caulk, mortar lips, or flush transitions trap runoff under the turf.
- Adhesive in the wrong pattern: Too much full-spread glue blocks movement and keeps moisture in place.
- Pet use concentrated in one zone: Urine loads the same wet corner again and again, which turns a drainage problem into an odor problem fast.
On Austin jobs, shaded side yards and narrow patio runs make this worse. Those spaces stay damp longer, get less airflow, and usually have the least forgiving outlet path. Add a couple of large dogs and summer heat, and a small drainage mistake becomes mildew, stink, and loose seams in a hurry.
The full water path has to work. Water passes through the turf backing, crosses the drainage mat or pad, follows the slab's fall, and exits at a perimeter that can release it. If any one of those steps is blocked, the system backs up under the turf. That is why artificial turf drainage problems usually show up as puddling, odor, adhesive failure, or edge lift long before the grass fibers wear out.
What actually holds up
Concrete installs last when the slab sheds water, the underlayment moves it laterally, and the edge detail gives it a clean exit point. Skip one of those pieces and the turf becomes a lid over trapped runoff.
That is the part a lot of online advice misses. On soil, water can move down. On concrete, it has to move across, then out.
Evaluating Your Slab Before Any Turf Goes Down
Before anybody orders turf, look at the slab like a drainage surface first and a finish surface second. Most of the expensive mistakes happen because nobody checked the concrete itself.
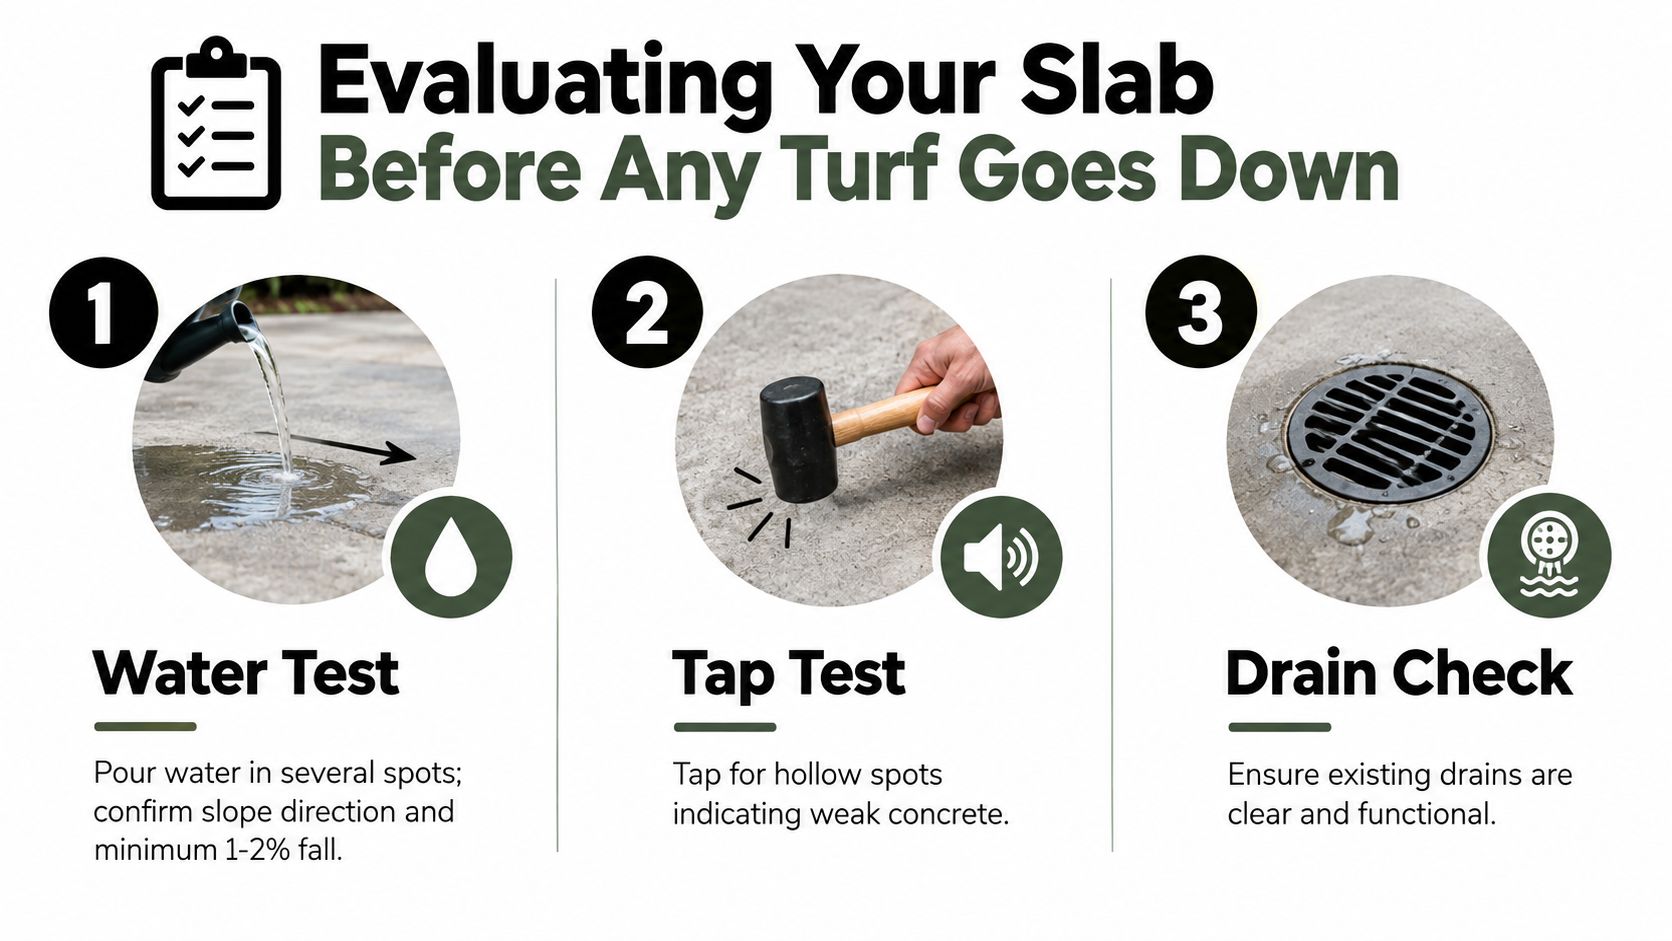
Start with a water test
Pour water in several areas, not just one. Check the center, the corners, the door side, and wherever pets usually stand. Independent installation guidance notes that a target slab slope of about 1% to 2% toward drains is a practical benchmark where feasible because even a slight fall materially improves runoff, especially on concrete where flatter slabs rely more on drainage layer design and outlet placement, as outlined in this guide to drainage under turf over concrete.
If the slab already has decent fall, that's good news. Guidance for concrete surfaces also notes that 1% to 2% slope equals roughly 1/8 inch to 1/4 inch of fall per foot, which is enough for natural drainage when the outlet path is clear, according to this explanation of drainage for artificial grass on concrete.
Check the slab like a builder would
Don't just look for cracks and call it done. A proper pre-check should include:
- Tap for hollow spots: Delaminated or weak concrete can telegraph movement into seams.
- Photograph bigger cracks: If a crack is wider than 1/8 inch, note where it runs and whether it crosses your future seams.
- Find every outlet: Floor drains, scuppers, weep holes, edge gaps, and low perimeters all matter.
- Look up, not just down: Gutter downspouts, AC condensate lines, and irrigation overspray can keep feeding the slab after rain ends.
If water already sits on bare concrete, turf won't fix it. Turf will only hide it for a while.
Record the conditions that decide the drainage strategy
Austin installs live and die on site-specific details. A shaded north-facing slab near a fence behaves differently than a sunny pool deck or rooftop terrace.
Write down these jobsite notes before you choose a system:
- Slope direction and where the water naturally wants to go
- Low corners where pooling already happens
- Exit points that are open, blocked, or missing
- Threshold heights at doors and sliders
- Moisture-prone wall edges and shaded corners
- Pet traffic zones where odor load will be highest
- Root or planter interference at the slab perimeter
Homeowners doing larger outdoor upgrades can also borrow planning ideas from these backyard transformation tips from XTREME EDEALS, especially when the turf area has to work with patio furniture, walk paths, and drainage instead of being treated like a stand-alone feature.
If you want to understand the rest of the install stack after the slab check, this breakdown of what goes under artificial turf is useful because it shows why the hidden layers control performance more than the grass face does.
Drainage Options Compared for Concrete Surfaces
On concrete, water has only three jobs. Get through the turf backing, move across the slab, and leave the slab. If any one of those steps fails, you end up with the callbacks nobody wants: sour pet smell, black mildew at the edges, soggy backing, and water that shows up at the door track after every hard Austin rain.
That is why I treat this as runoff control, not a turf selection problem. The turf face matters for heat and appearance. The drainage layer, collection point, and discharge path decide whether the install still performs after two summers, a dog, and a week of thunderstorms.
The five approaches that come up most often
Some slabs need one drainage method. A lot of Austin patios need a combination because the slab was poured for outdoor living, not for flushing rinse water, pet urine, and roof runoff under synthetic turf.
Dimpled drainage mats are the standard starting point on concrete. They create a void under the turf so water can travel sideways instead of sitting flat against the slab. They work well on patios, balconies, and pet runs where the concrete has at least some fall and the perimeter gives water a place to escape. They do not fix a dead-flat slab by themselves.
Drilled weep holes through the slab are a niche fix. I only consider them on smaller slabs over open soil, and only after confirming that pushing water below the slab will not create a worse moisture problem at the footing, wall, or adjacent hardscape. A lot of online advice treats weep holes like a shortcut. They are not. On suspended concrete, heavily reinforced slabs, or patios near the house, they are often the wrong move.
Channel drains at the low edge are the cleanest answer when runoff already wants to move in one direction. If the slab has a predictable low side, a linear drain gives that water a defined collection point instead of asking it to seep out under the turf edge. This is one of the few options that handles both storm water and wash-down water well, which matters on Austin pet runs.
Spot drains or area drains make sense when one corner or one dip does most of the collecting. They work best when the slab geometry already feeds that point or when there is existing drainage infrastructure to tie into. If the rest of the slab is flat and water never reaches the drain, the drain becomes decoration.
Porous or perforated adhesive layouts help with vapor release and reduce the amount of backing sealed tight to the slab. They are part of the detail, not the solution. Adhesive pattern affects how moisture behaves under the turf, but it does nothing for water that has no exit path.
Drainage Options for Artificial Grass on Concrete
| Drainage Option | Best For | Typical Installed Cost (per sq ft, Austin) | Key Limitation |
|---|---|---|---|
| Dimpled drainage mat | Patios, balconies, pet areas, rooftop pads | Varies by product and layout | Needs a real exit path at the perimeter or drain |
| Drilled weep holes | Small slabs over soil with isolated wet spots | Varies by slab thickness and access | Doesn't help much on broad flat areas or suspended slabs |
| Channel drain at low edge | One-direction runoff and obvious perimeter low point | Varies by drain type, sawcut needs, and discharge route | Requires a place to send collected water |
| Spot or area drain | Localized low zones with existing drain access | Varies by plumbing tie-in complexity | Limited if the slab doesn't naturally feed the drain |
| Porous adhesive approach | Installations where bonding pattern affects vapor release | Varies by adhesive system | Not a stand-alone drainage fix |
No honest installer can price drainage from a photo and a square-foot number. Sawcutting, access, discharge route, threshold clearances, and sanitation needs change the scope fast. A shaded condo balcony with no legal drain tie-in is a different job than a freestanding backyard slab with an open edge.
The pattern that holds up most often is simple. Use a drainage mat to create lateral flow, then pair it with a real collection or discharge detail. If water can move but cannot leave, it is still trapped.
For a closer look at the hidden layers that handle runoff under the grass face, see this guide to artificial turf drainage systems.
A simple decision rule
Use this filter on concrete jobs:
- Usable slope and open low edge: drainage mat plus a vented edge or discharge detail usually handles it.
- One chronic puddle zone: a localized drain can work if the slab naturally feeds it.
- Nearly flat slab: plan for a drainage layer and a defined collection point. Turf backing alone will not save it.
- Pet run: design for hose-down water and urine load, not just rainfall.
- Door threshold or HOA-sensitive patio edge: choose a low-profile system that moves water without creating a visible trip edge or illegal runoff onto a neighbor.
Preparing the Surface and Securing the Turf
A lot of concrete turf jobs look fine for the first few weeks. Then the first Austin storm hits, or the dog run gets its second daily hose-down, and the weak points show up fast. Water stalls at a threshold, funk builds along the wall line, and the turf starts acting like a lid over a wet slab.
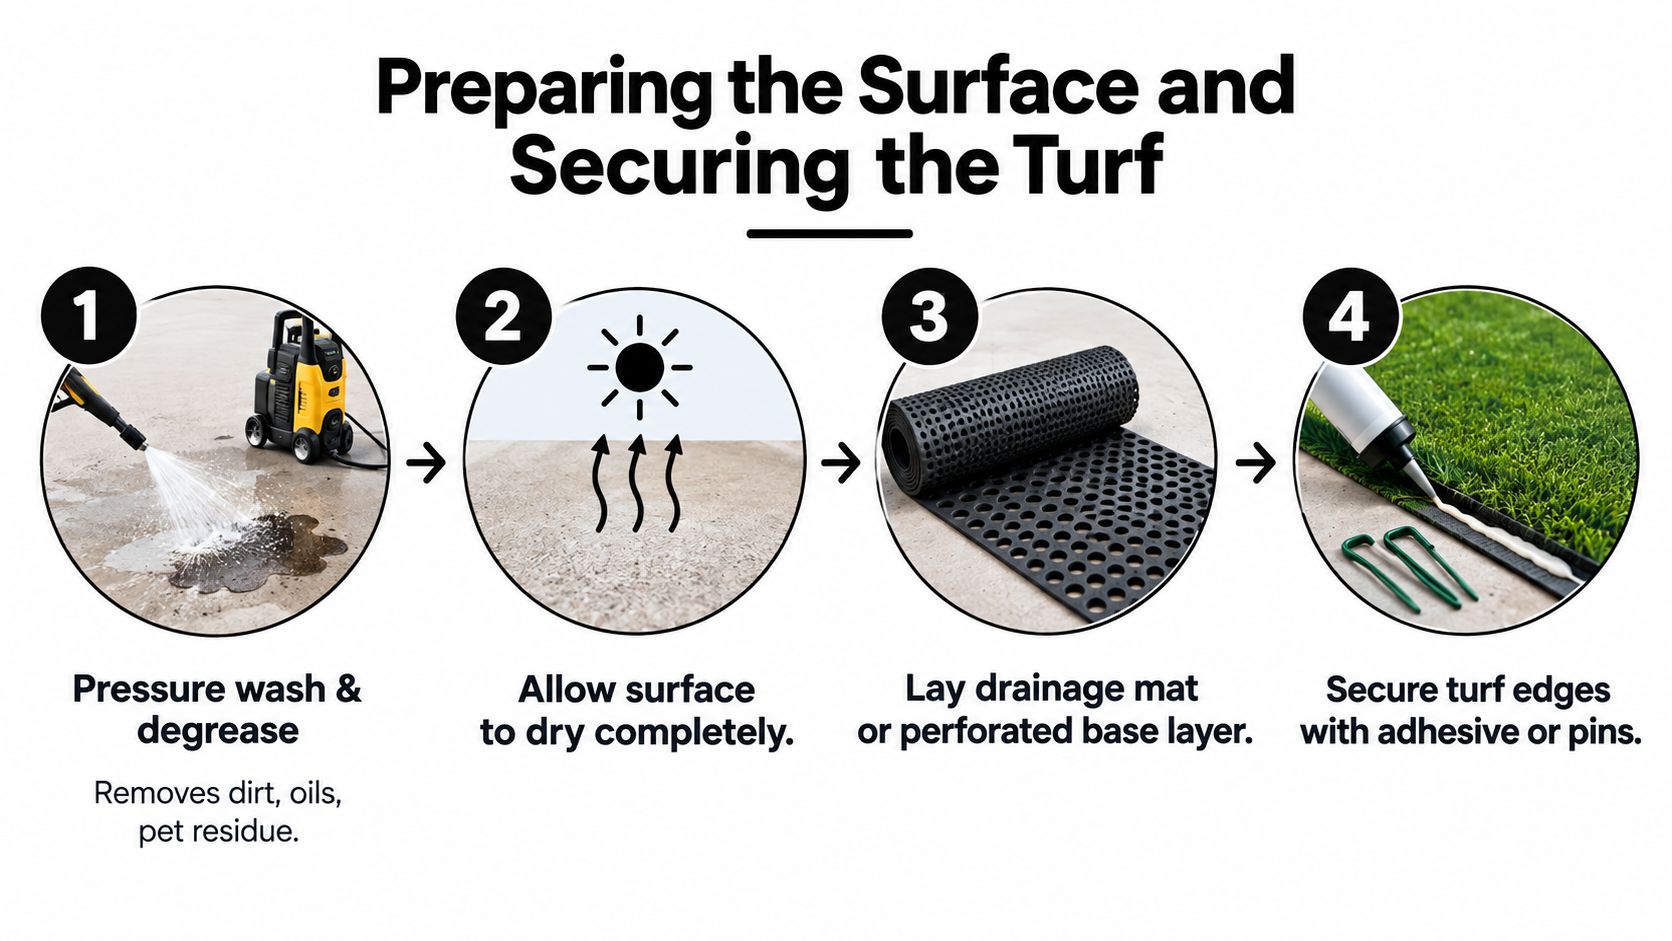
Clean first, then find the problem spots
Start with a full cleaning pass. Pressure wash the slab, scrub off grease, pet residue, pollen, and old adhesive, and remove any loose paint or failing sealer. Dirty concrete does two things you do not want. It weakens adhesive bond, and it creates little dams where grime packs into low areas.
Let the slab dry and watch it. Areas that stay dark longer usually mark the trouble spots. On Austin patios, I see this a lot near house walls, covered corners, and spots shaded by fences or planters.
If moisture keeps hanging around, do not cover it and hope the turf system fixes it. Figure out whether the slab is holding rinse water, taking runoff from somewhere uphill, or staying damp because the edge discharge is blocked.
Build the water path before you roll out turf
On concrete, the hidden layer does the drainage work. Turf backing only gets water through the face. After that, the slab and the drainage layer have to move it sideways to an exit point.
That is why I treat this step like runoff control, not carpet installation.
Set the drainage mat or tile so its channels feed the low side or the collection detail you planned earlier. If the mat runs into a closed curb, solid threshold, or tight wall with no weep gap, water stops there. I have torn out plenty of installs where the underlayment was technically "drainable" but the perimeter trapped everything.
Check thickness before you commit. A thicker pad may feel better underfoot, but it can create door clearance problems and force water to linger if the exit detail sits too high. Low-profile drainage layers usually behave better on retrofit slabs where thresholds, gate swings, and HOA visibility matter.
Glue patterns and seam placement matter
Full-spread adhesive can work on the right slab, but crews get into trouble when they glue as if they are waterproofing a roof deck. You need bond, but you also need paths for vapor and incidental moisture to escape where the system is designed to vent.
Keep seams out of the lowest wettest area when you have a choice. Put them on flatter, drier parts of the slab, keep seam tape flat, and weight the joint until cure is complete so the edge does not tent up and catch water.
Three field mistakes cause repeat failures:
- Tight-sealing the perimeter: Water reaches the edge and has nowhere to leave.
- Bonding over sealed or densified concrete without the right primer: Adhesive release starts at the edges and seams.
- Laying mat over birdbaths and calling it fixed: The dip is still there, and the water still finds it.
Finish the edges like drainage details, not trim details
Edges decide whether the whole assembly dries out. At walls, planters, columns, and door thresholds, secure the turf so it stays straight without choking off discharge. Mechanical edging often gives better control than trying to glue every inch of perimeter.
Leave a 1/4-inch gap where the design needs weep escape. That small gap does more for long-term performance than a perfectly tight cosmetic finish. On pet areas, that opening also helps rinse water get out instead of sitting under the edge and turning sour in August heat.
One option some Austin homeowners ask about is whether Modern Yard can pair turf with drainage tile or channel drainage on the same project. It can be done, and on problem slabs that combination is often more practical than forcing a glue-only install to handle runoff it was never built to manage.
Infill and Material Choices for Hot Austin Summers
Austin heat changes the conversation. Drainage still matters, but so do foot comfort, odor control, and whether the materials stay serviceable after long sun exposure and repeated rinsing.
Backing matters more than the marketing label
A lot of products get sold as "pet friendly" or "high drainage" because the face yarn looks nice and the sales sheet mentions perforations. On concrete, the biggest red flag is still a backing that doesn't create a dependable path into the drainage layer below.
The more useful way to shop is by asking direct questions. Is the backing fully permeable or only hole-punched? Is it compatible with lateral drainage over hard surface installs? Is the product meant for pet rinsing, not just rain exposure?
Infill and Turf Specs Compared for Austin Conditions
| Option | Permeability (gal/min/sq ft) | Surface Temp vs. Bare Concrete | Best For |
|---|---|---|---|
| Rounded silica sand | Qualitative only | Usually cooler underfoot than bare concrete, but still hot in direct summer sun | General landscape areas |
| Acrylic-coated sand | Qualitative only | Similar heat trade-off with somewhat cleaner handling | Family lawns and moderate traffic |
| Antimicrobial infill such as ZeoFill or Durafill | Qualitative only | Chosen more for odor management than cooling alone | Dog runs and heavy pet use |
| Fully permeable turf backing | Qualitative only | Doesn't control heat by itself, but supports rinsing and drainage | Concrete installs where water must move fast |
| Non-perforated or poorly draining backing | Qualitative only | Can stay damp underneath even when the face dries | Avoid for concrete installs |
No reliable verified source in this set provides per-square-foot-per-minute permeability or a measured surface temperature comparison for specific infills, so anybody claiming exact cooling numbers in a blog post is usually stretching.
On Austin pet runs, odor control usually improves more from a clean drainage path and the right rinse routine than from chasing a miracle infill.
Pile height also matters in practice. On concrete, very tall turf can hold more debris and rinse less cleanly. Mid-range heights tend to give you the better trade-off between comfort, cleanup, and dry-down time. If heat is a major concern, look for turf products built for sun exposure and compare them alongside heat-resistant artificial turf options that focus on fiber and surface comfort rather than just color.
Austin Climate, HOA Rules, and Drainage Codes to Know
Austin doesn't let you ignore runoff. Even if your project is "just turf over a slab," the water still has to leave without creating a problem for the next property line, your own threshold, or the shared drainage pattern of the lot.
Why the climate changes the install details
Our weather puts pressure on every weak decision. Hard rain exposes shallow slope. Heat stresses adhesives. Shaded fence lines stay damp longer. Dog runs get rinsed often, which means your system has to handle repeated washdown, not only storms.
Civil-engineering work on synthetic turf moved this conversation beyond anecdotes years ago. By 2016, literature had already formalized hydrology modeling for synthetic turf fields using field data, reflecting a shift from broad drainage claims to measurable runoff and discharge analysis. Technical drainage reviews also emphasize that investigations look at the full stack, including turf and backing, infill, base stone, collector pipe, and storm-drain connections, with tests such as ASTM F2898 and ASTM D5084/D2434 used depending on the material range, as described in this technical review of drainage of artificial turf systems.
That matters for homeowners because the principle is the same on a patio. The full drainage path decides whether the install works.
HOA and finish-detail reality
Most HOA friction doesn't come from the drainage layer itself. It comes from appearance. Boards often care about visible edge details, color consistency, and whether the install looks finished at walkways, patios, and front-facing areas.
Hidden perimeter drains, discreet channel drains, and clean terminations usually help more than flashy add-ons. If you need submittals, give the HOA a simple drawing showing turf limits, drain location, and runoff direction. Keep it visual and practical.
Code-minded habits that save rework
A few habits keep these projects out of trouble:
- Direct runoff to a defined outlet: Don't let water sheet into a neighbor's side yard.
- Keep discharge visible and serviceable: Hidden failures are the expensive ones.
- Account for irrigation overspray: Turf doesn't need the same sprinkler pattern the old planting bed did.
- Use UV-stable materials: Austin sun punishes cheap adhesives and low-grade trim pieces.
If a slab is flat, crowded by walls, or already drains poorly, the answer usually isn't a prettier turf. It's a better runoff plan.
Maintenance Habits and When to Bring in a Pro
A patio can look clean on top and still be failing underneath. I've lifted turf that looked fine from the gate, then found black slime at the low edge, pet urine trapped in the pad, and concrete holding water because nobody paid attention to where the runoff was supposed to exit.
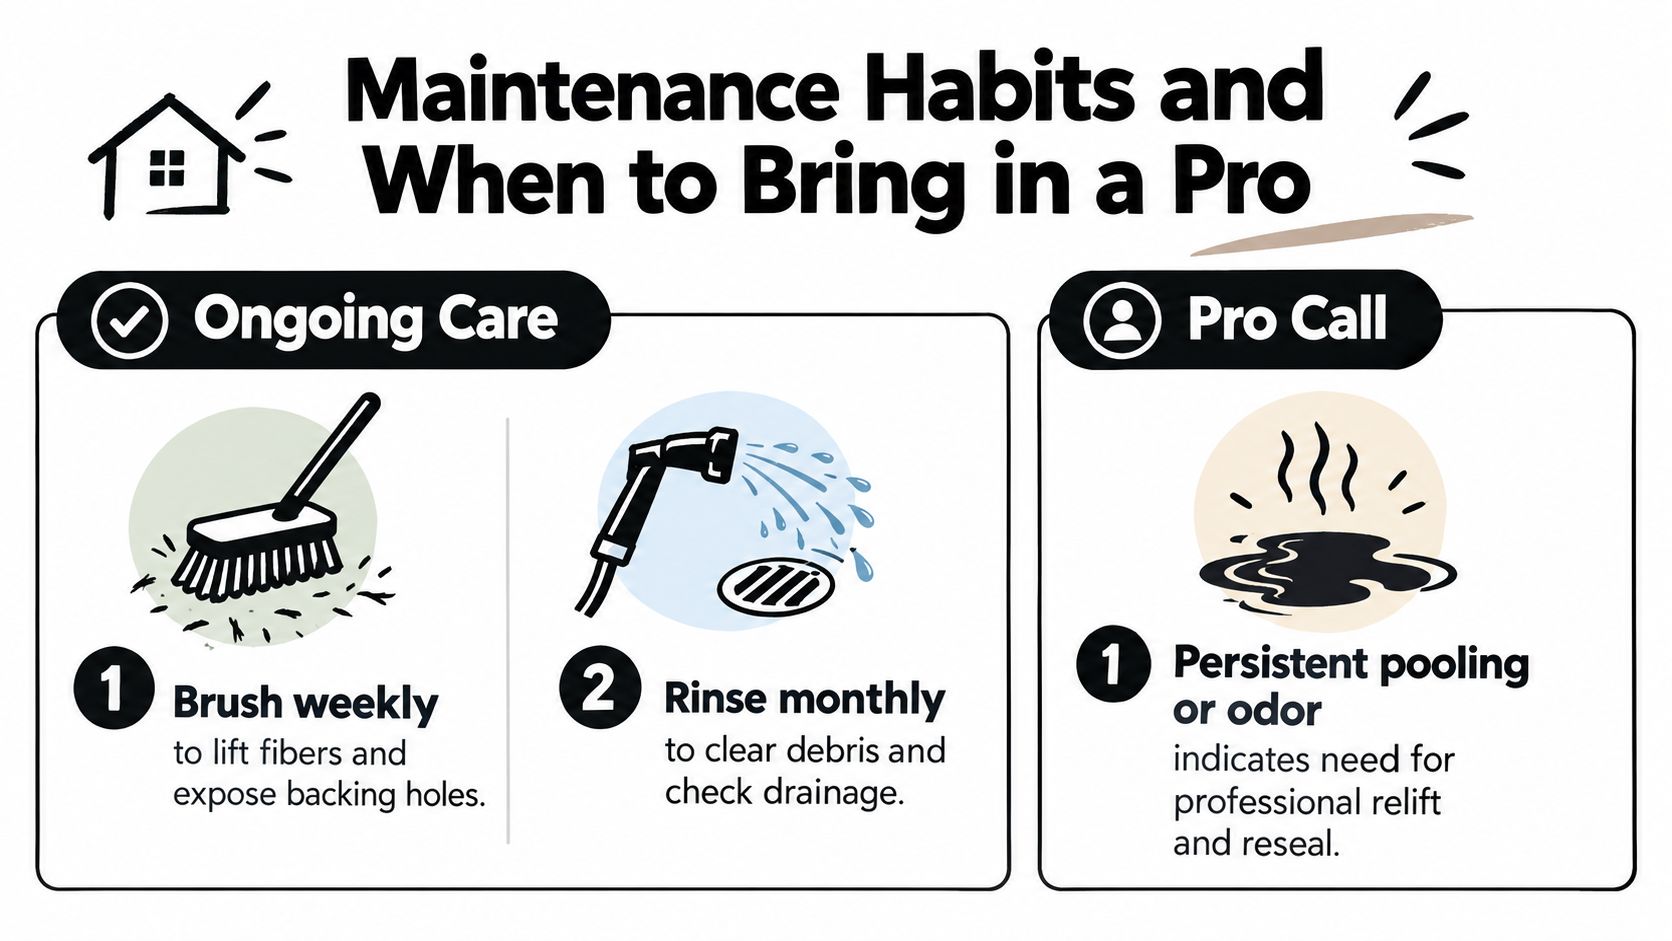
On concrete, maintenance is about keeping the whole water path open. Water has to pass through the turf backing, move across or through the drainage layer, follow the slab's pitch, and leave at a clean discharge point. If any part of that path clogs, flattens out, or stays boxed in by edging, the symptoms show up fast in Austin heat.
The routine that keeps the system open
A simple habit pattern prevents a lot of callbacks.
- Brush traffic lanes weekly: Entry points, dog paths, and furniture edges mat down first. Once the fibers stay crushed, fines and hair sit tighter against the backing.
- Rinse on a set schedule: Patios under trees or used by pets need more than an occasional spray. Flush the surface enough to move dust, pollen, and urine salts toward the exit point instead of letting them bake into the system.
- Check the discharge edge after storms: Look at the actual outlet, not just the turf face. Gravel stops, scuppers, channel drains, and slab edges collect leaves, crepe myrtle blooms, and mulch fines.
- Pull debris off shaded perimeters early: That is where mildew starts, especially where turf meets a wall, fence line, or planter.
For owners in managed communities, approval and maintenance responsibility can get muddy fast if runoff crosses into common areas or shared walks. HOA construction from Access Management Group gives a useful view of how associations often handle exterior modifications and upkeep requests.
Signs the drainage system is slipping
Some problems stay at the cleaning level. Others mean the assembly itself is wrong.
Call for a closer look if the same area stays wet long after the rest of the surface dries, especially near doors, outside corners, or the downhill edge of a pet run. Persistent odor after rinsing is another one. That usually means liquid is reaching a dead spot and sitting there, not that the whole turf product is bad.
Watch the edges too. Curling, loose adhesive, dark staining, algae, and recurring seam separation usually point back to trapped moisture or repeat overflow. On concrete, that pattern matters more than the turf color or pile height.
A quick flood test helps. Run enough water over the problem area to mimic a hard rinse or storm, then watch the exit point. If water lingers in one zone instead of traveling cleanly to an outlet, the fix may involve lifting turf, replacing a saturated pad, cutting in a channel drain, drilling weep paths where appropriate, or rebuilding the perimeter so runoff can escape. Surface cleaning will not solve that.
A pro earns the fee when the repair affects slope, edge discharge, adhesives, or any layer under the turf. That is where DIY advice usually falls apart. The problem is rarely "the grass." The problem is the runoff plan.
Modern Yard installs turf, troubleshoots drainage, checks slab slope, and handles retrofits for Austin patios, pet runs, rooftops, and commercial hardscape areas where water control is the issue. If you want a straight answer on whether your concrete can support turf as-is or needs a drainage layer, channel drain, or edge rework first, visit Modern Yard Landscapes and schedule a site visit.