
Your backyard putting green looks perfect until a short Austin storm leaves a soft patch beside the cup and a sheet of water against the patio. You bought a surface you could practice on without muddy shoes, but now you're wondering whether the turf needs replacing or the ground underneath was never prepared correctly.
Don't buy replacement turf until someone checks where the water goes. Putting green drainage starts beneath the playing surface and ends at a working discharge point, not at the holes in the backing.
Why a Green Stays Wet After the Rain Stops
A wet green doesn't automatically mean defective turf. Often, water gets through the carpet just fine, then collects underneath because the installer gave it nowhere to go.
Think of a colander sitting on a sealed tray. The holes let water through, but the tray still fills. Adding more holes to the colander won't empty it, and buying a more permeable carpet won't fix a trapped base.
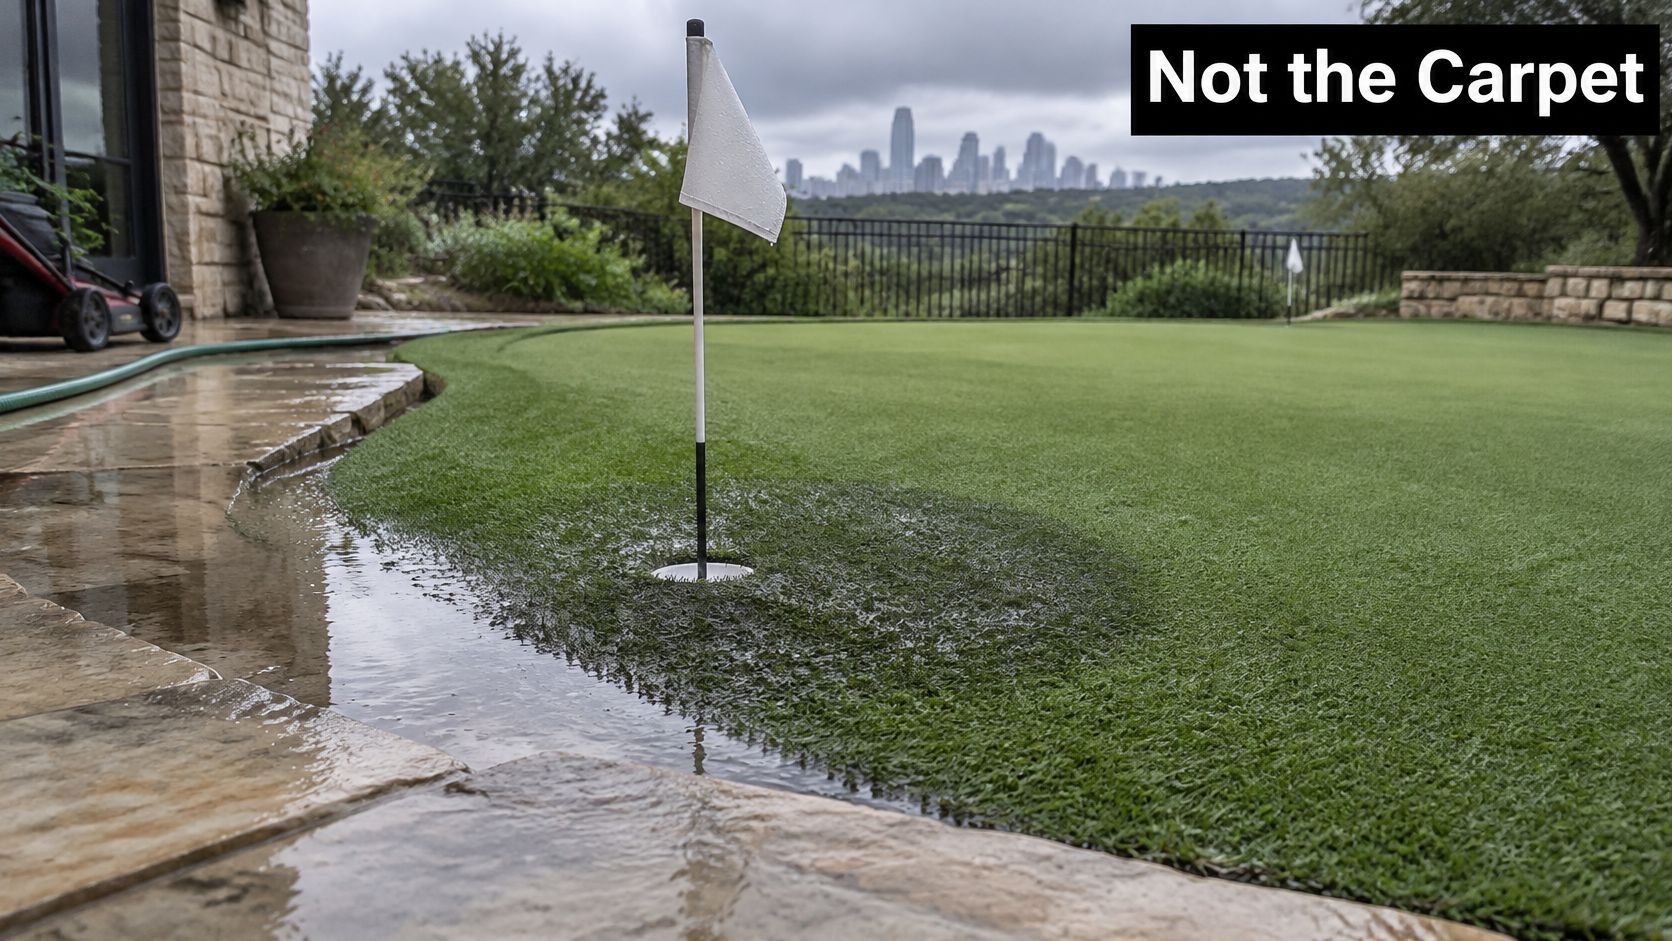
The surface is only the lid
A complete drainage plan gives water a workable route through the property. Those routes are distinct:
- Surface drainage: Water travels across the finished contours toward a safe edge.
- Subsurface drainage: Water passes through the turf and aggregate into a collection pipe.
- Soil infiltration: Water enters the native ground beneath the installation.
A green may use all these routes, but none should be assumed from a turf sample. Porous backing tells you something about the carpet, not whether the excavated ground can accept water or whether a buried pipe reaches an outlet.
Austin yards need more than a backing specification
Central Texas clay, short intense storms, and nearby patios make site geometry especially important. A patio can deliver runoff toward the green, while a tightly enclosed edge can prevent that water from escaping.
Excavation and compaction also change the ground beneath an installation. A stable base is necessary, but stability and permeability aren't interchangeable. The installer has to achieve support without leaving water trapped in the excavation.
Practical rule: Judge drainage by the complete water path, not by how quickly water disappears through a turf sample.
During a walk-through, point out the wet patch, the hardscape around it, and any runoff arriving from uphill. Then have the installer identify the receiving ground or discharge route before discussing carpet options.
A useful proposal should describe the buried construction clearly enough that you can understand what supports the turf and what carries water away.
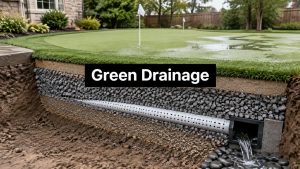
The Drainage Stack Under a True Green
Putting green drainage profile
The natural-green reference dimensions and pore-space limit below come from the USGA's explanation of sand-based putting-green construction, which describes a minimum 4-inch (10 cm) gravel layer, approximately 12 inches (30.4 cm) of sand-based root zone, and guidance against air-filled porosity below 0.15 cm³/cm³.
| Layer | Role | Reference spec | If it is wrong |
|---|---|---|---|
| Subgrade | Stable shaped base under the gravel | Contours match the finished green | Low spots hold water against the base |
| Drainage gravel | High-flow blanket that feeds the pipes | Minimum 4 inches (10 cm) | Thin or uneven gravel perches water |
| Root zone or aggregate base | Upper profile the surface sits on | About 12 inches (30.4 cm) sand root zone on natural greens; permeable graded base on artificial greens | Compacted soil acts like a sealed tray |
| Pore space | Air paths that keep the profile draining | Air-filled porosity at least 0.15 cm³/cm³ | Below that limit, drainage and aeration suffer |
| Turf or grass surface | Playing lid, not the drain | Porous backing or turf over the designed base | Porous carpet over a sealed base still ponds |
Start with the excavation, not the carpet
The subgrade is the shaped ground at the bottom of the system. It needs to be stable and deliberately contoured, not left as an accidental collection of excavator tracks and low pockets.
Don't accept a flat excavation beneath a sculpted green without an explanation of how the drainage profile works. The supporting layers should follow the intended contours rather than change thickness unpredictably to create the putting breaks.
Above that sits the drainage-gravel blanket. Its job is to provide a relatively open route toward the collection pipes after water passes through the upper profile.
A depression in that blanket can leave one area wetter and softer than its surroundings. Before the upper material hides it, the installer should check the gravel elevations with a laser level and grade rod.
Separate natural-green specifications from artificial-green construction
A natural USGA-style green needs an engineered growing medium that balances drainage, moisture retention, and root aeration. An artificial green doesn't need a living root zone, so copying the natural-green excavation depth without a site-specific reason isn't good estimating.
It still needs a permeable, graded aggregate base that supports the playing surface. The material selection and placement must preserve drainage while providing a firm platform for consistent ball roll.
Our guide to synthetic grass base material explains the base-selection decisions beneath artificial turf. Treat the base as a specified construction component, not an unnamed load of crushed material.
The backing and infill complete the playing surface; they don't compensate for unsuitable material underneath. A proposal that leaves out gravel depth, contour matching, or a designed outlet is incomplete, even if it names a premium turf product.
Grade and Pipe Layout That Actually Discharge
Pipe and slope limits for a putting green
The USGA recommendations for putting-green construction specify minimum 4-inch (100 mm) perforated pipe, lateral spacing no greater than 15 feet (about 4.6 m), and continuous pipe slope of at least 0.5 percent, equivalent to about 0.5 feet per 100 feet.
| Element | Minimum or limit | Why it matters |
|---|---|---|
| Pipe size | 4 inches (100 mm) perforated PVC or corrugated polyethylene | Provides the specified collection size; smaller pipe offers less conveyance capacity |
| Trench | Gravel-filled | Keeps the pipe in the high-flow blanket |
| Lateral spacing | No more than 15 feet (about 4.6 m) | Limits how far water travels through gravel |
| Main drain | Along the line of maximum fall | Collects laterals on the steepest path |
| Pipe slope | At least 0.5 percent, about 0.5 feet per 100 feet | Stops water stagnating inside the pipe |
| Perimeter drains | Smile drains at walls and low exits, not only the front | Catch water trapped against the cavity |
These are useful reference limits for reviewing a drainage layout, not permission to skip site measurements. Pipe diameter alone won't tell you whether a proposed installation will discharge.
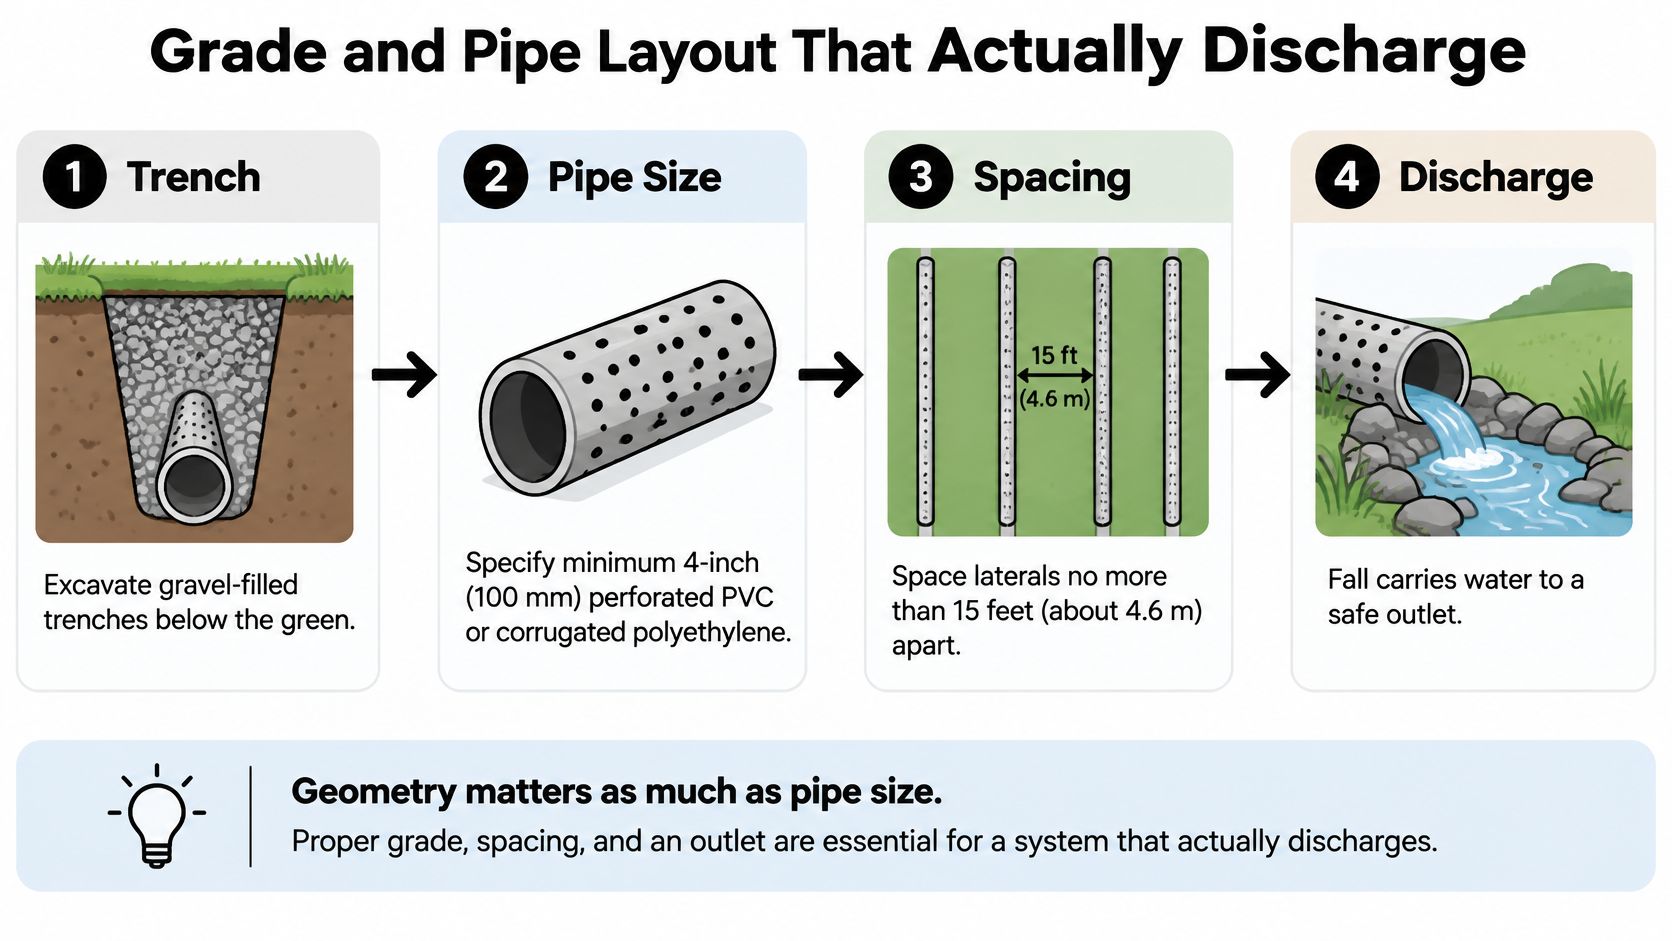
A flat pipe can defeat a good gravel bed
Think about roof gutters. A wide gutter still overflows if the downspout empties into a closed corner. Underground drainage has the same weakness: collection doesn't help unless water can leave.
The main drain should follow the line of maximum fall, with laterals feeding it rather than creating isolated collection pockets. The network should reach the perimeter, including locations where water can collect against the excavation wall.
Smile drains belong wherever the shape requires them, not automatically at the front edge alone. A side wall beside a patio may be the actual trapping point.
Verify elevations before covering the work
Use a laser level and grade rod to establish the proposed pipe elevations and available outfall. Check the entire run for continuous fall, including connections and changes in direction.
For contractors organizing pipe and fitting quantities, Exayard plumbing estimating software is a resource to evaluate for estimating work. An estimating tool doesn't replace field verification of the trench or discharge elevation.
Before aggregate and turf conceal the system, confirm:
- Actual fall: The pipe route slopes continuously toward discharge.
- Outfall elevation: The receiving point is low enough to accept gravity flow.
- Overflow routing: Excess stormwater won't head toward the house, pool, or neighboring property.
For Austin yards, expansive clay and nearby hardscape make that final check essential. Our yard grading and drainage guide explains how the green's drainage connects to the surrounding yard.
Ask this on site: Where does this pipe daylight, and is that point lower than the green?
Where the Water Goes After the Turf
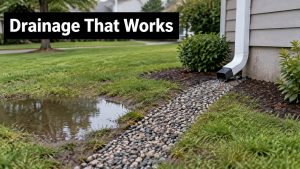
Say your planned green sits between a patio and a planting bed, with the neighboring yard downhill. Water passing through the fibers could soak into the ground, enter a collection drain, or return to the surface and run toward that lower boundary.
Those outcomes aren't equivalent. The right design identifies the intended destination and checks that the property can accommodate it.
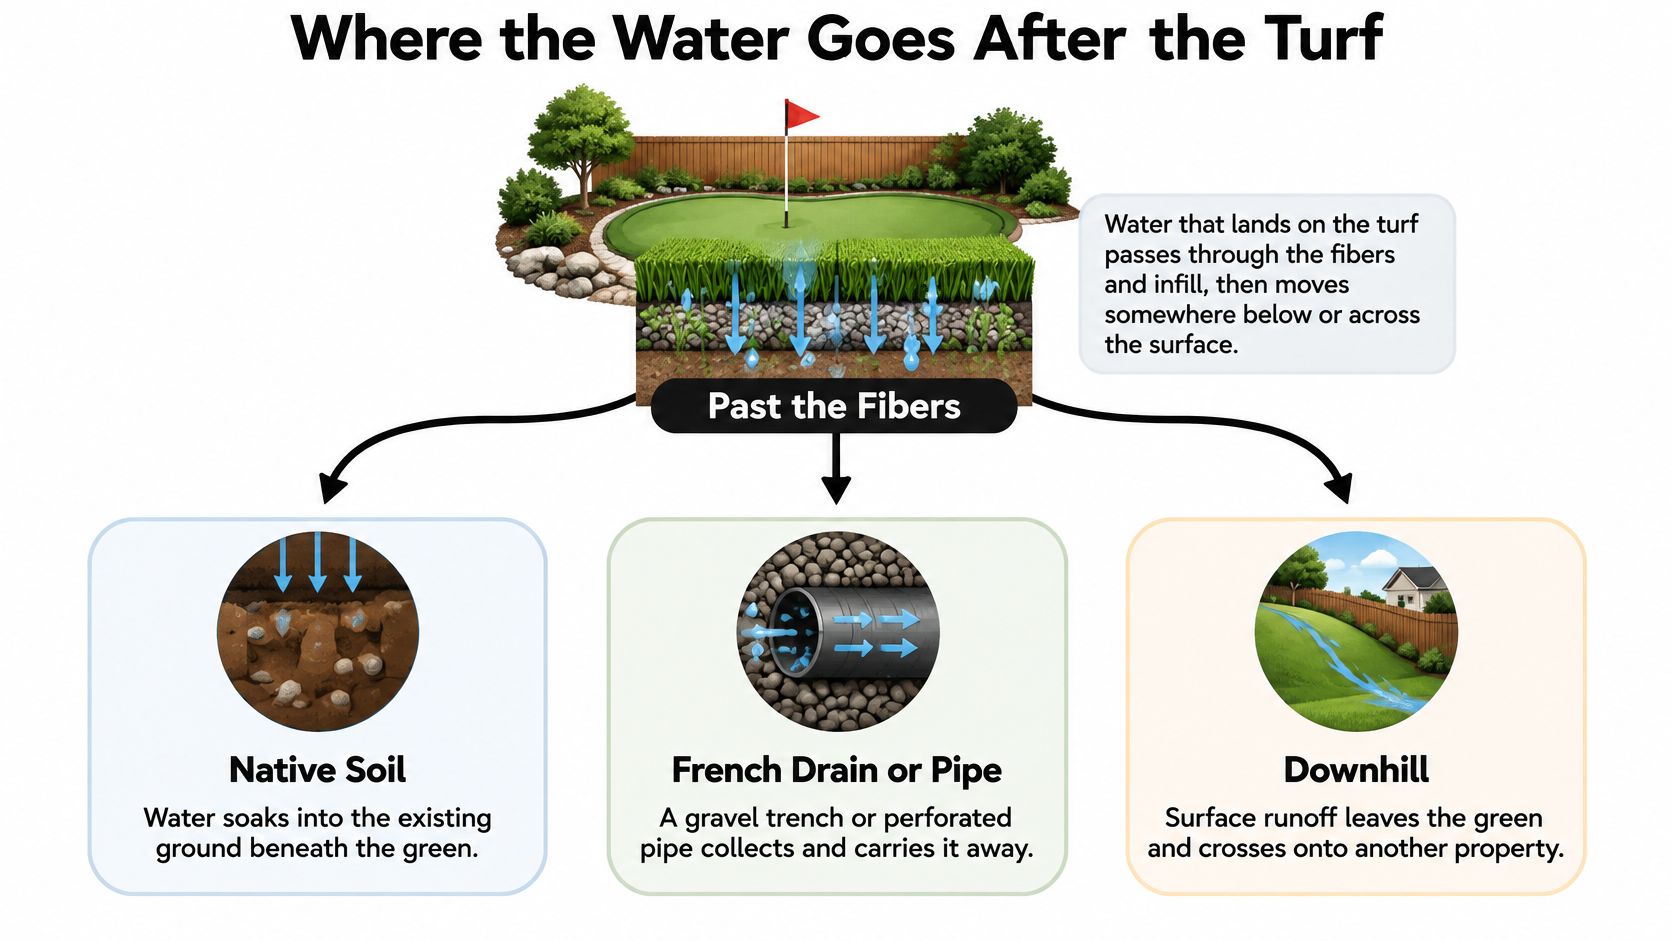
Native soil must actually accept water
Vertical drainage works when the constructed base remains open and the ground beneath it can receive the flow. If that receiving soil can't accept water, the excavation becomes storage rather than drainage.
The New Jersey Department of Environmental Protection's synthetic-turf report explains that excavation and compaction can make an installation functionally similar to paving, and cites a study finding infiltration 70% lower than natural grass. The report also notes that synthetic turf's hydrologic effects remain poorly documented, so that finding isn't a prediction for every backyard.
The practical conclusion is straightforward: don't assume infiltration from the appearance of the finished surface. Inspect the soil and evaluate its ability to accept water at the planned excavation level.
A collection drain needs somewhere to deliver its flow
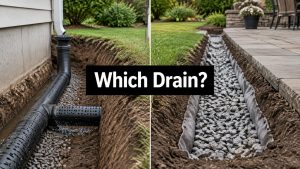
In the patio-and-planting-bed example, a French drain or perforated collection pipe can intercept water that the native soil won't absorb. But a gravel trench ending in the same saturated ground may relocate the wet spot.
Trace the receiving route beyond the green. Identify whether water reaches a suitable discharge area, an approved drainage connection, or another designed receiving feature.
That decision should account for the surrounding yard, not just the turf footprint. A dry putting surface isn't a successful result if the discharge leaves a foundation wet.
Water crossing the property line isn't proof that your drainage works. It may be proof that the problem has moved.
Surface overflow is the safety valve
When rainfall exceeds the system's ability to absorb and convey water, the excess needs a controlled surface route. In the example yard, that route shouldn't be the gap between the patio and the house, nor should it be assumed to continue harmlessly through a neighbor's property.
After a storm, inspect the whole route. A firm green with water moving through the intended outlet suggests the collection path is functioning; water sheeting across the patio points to a different problem.
Observe from a safe location and photograph where water enters, pauses, and leaves. Those observations help distinguish a surface-grading issue from a buried collection or infiltration failure.
Wet Spots and What They Usually Mean
A soft spot beside the cup deserves investigation, not an automatic layer of fresh infill. The cup may sit near a low pocket in the supporting profile, but the visible symptom alone doesn't prove which buried layer is responsible.
Start by comparing that area with the rest of the green after rain. Mark the wet boundary with removable flags and photograph it from the same position as it dries.
Putting green water symptoms and first checks
| What you see | Likely cause | First check |
|---|---|---|
| Soft spot by the cup after a normal rain | Low gravel or subgrade pocket | Compare surface grade to the gravel contours |
| Sheet of water against patio or coping | No surface fall and no edge drain | Look for a smile drain and positive slope off the green |
| Whole green stays wet and the outlet stays dry | Flat, crushed, or clogged pipe | Confirm the outlet runs and the pipe has fall |
| Water leaves the green and ponds by the house | Outlet aimed wrong or no discharge | Trace the pipe to daylight and note the elevation |
| Edge stays wet after a fringe is added | New collar acts as a dam | Check that the fringe doesn't block the perimeter drain |
Read the symptom before choosing the repair
For the cup-area soft spot, compare surface elevations with construction records or photographs of the gravel layer. If records don't exist, a targeted inspection may be needed before anyone claims the carpet is at fault.
A shiny sheet beside pool coping or a patio points toward an edge problem. Check whether the finish levels form a basin and whether an edge drain exists where water collects.
A broadly squishy green with a dry outlet calls for a pipe inspection. A dry discharge point during ordinary dry weather proves nothing, so make the comparison while the green is receiving water and remains saturated.
Follow the problem beyond the turf boundary
Water ponding beside the house requires attention even if the green itself dries. Trace the discharge route rather than stopping your inspection at the turf edge.
A newly added fringe or chipping collar can also change drainage without changing the main green. Check whether the added material raised the perimeter, buried an inlet, or blocked an existing surface escape route.
Use the following observations to prepare for a site visit:
- Arrival point: Note whether roof runoff, paving, or an uphill bed sends water onto the green.
- Persistent low point: Mark the area that stays wet after surrounding areas firm up.
- Outlet behavior: Record whether water flows, trickles, backs up, or never appears.
- Recent changes: Identify new edging, planting beds, collars, or hardscape installed before the problem began.
Our guide to lawn drainage problems can help you recognize issues that extend beyond the putting area.
Don't rebuild on a guess. A recurring wet patch warrants an on-site reading of fall and outfall elevations, followed by a repair aimed at the failed path. Hosing the fibers or changing infill won't correct a buried depression or an uphill outlet.
Drainage That Slows Down Over a Decade
In a 10-year study of sand-based golf putting-green root zones, infiltration declined roughly 71–75% from Year 1 to Year 10, according to the University of Nebraska–Lincoln's review of the putting-green study. Both tested mixes still exceeded the USGA guideline of at least 6 inches per hour; bulk density rose 7%, while air-filled porosity fell 38%.
That's an important distinction: slower drainage didn't mean those test greens failed. It means a strong initial drainage result isn't a permanent condition you can stop checking.
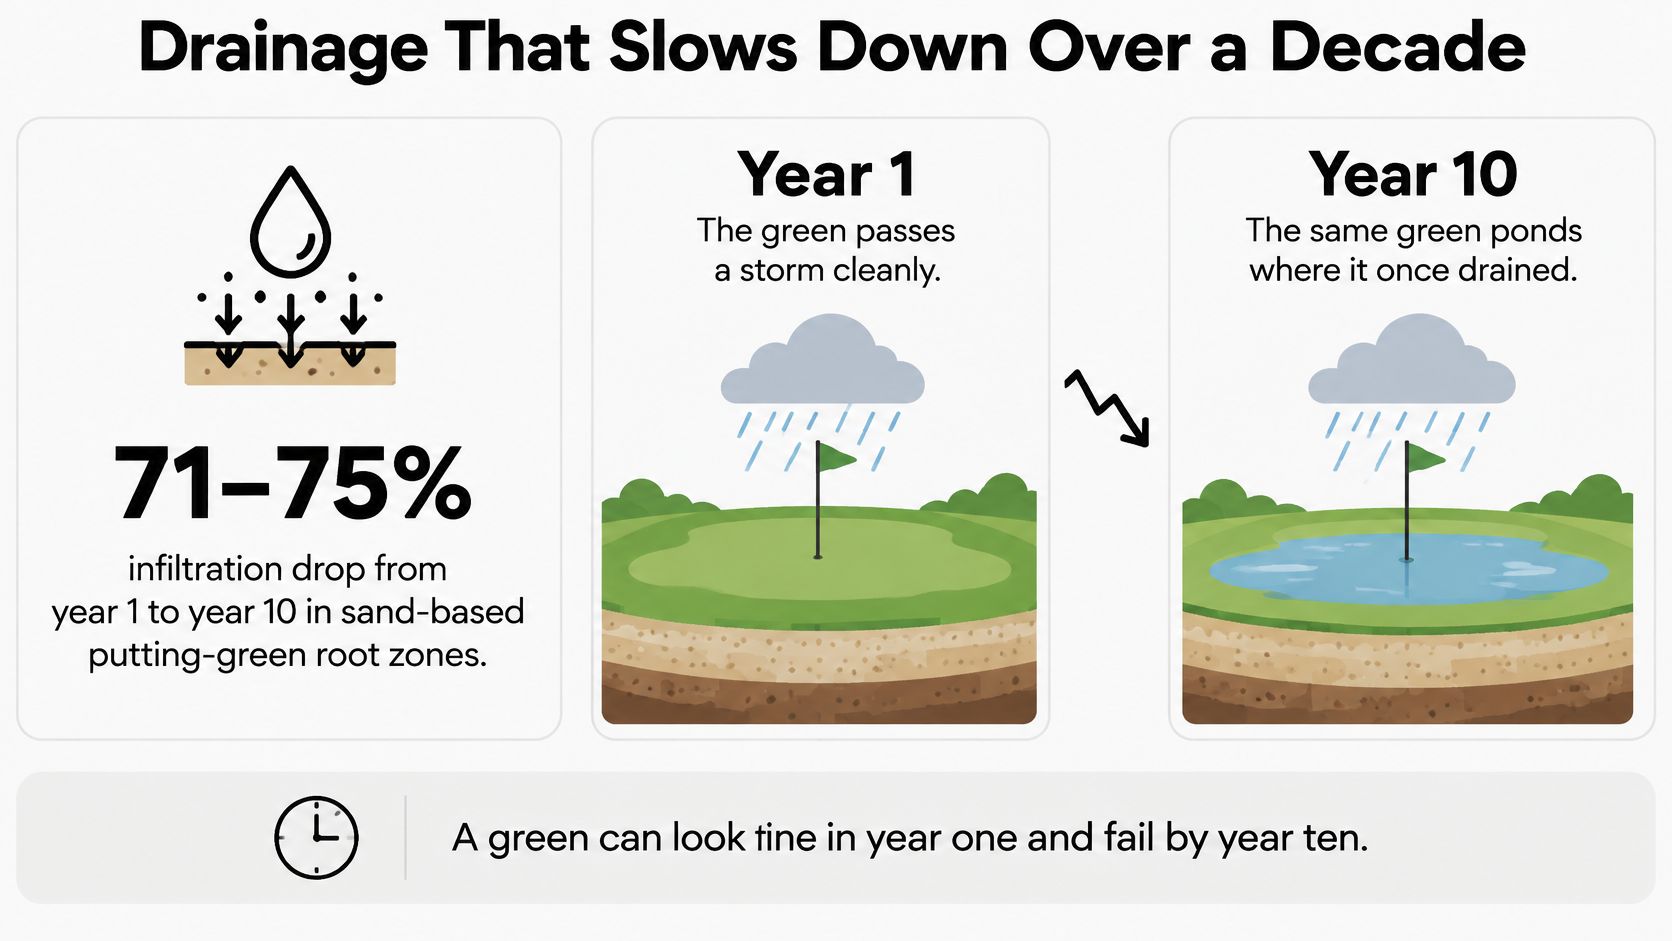
Reduced capacity is a reason to inspect, not automatically rebuild
The study concerned natural sand-based root zones, not artificial backyard greens. Don't use its percentages to predict synthetic-turf lifespan or claim that every mature green will pond.
The useful lesson is that physical conditions change. Traffic, accumulated material, and changes in pore space can reduce how readily water enters and moves through a profile.
Before rebuilding a natural green, inspect low spots, settled edges, blocked outlets, sediment migration, and compacted walk-off areas. Determine whether the restriction sits near the surface, inside the profile, or at discharge.
Maintenance priority: Find the restriction before deciding how much of the green to remove.
Give artificial greens a drainage maintenance plan
For synthetic installations, inspect the playing surface and discharge together. Look for sediment at low edges, displaced infill, deteriorating fibers, and debris collecting around the outlet.
Aging fibers and rubber infill can contribute microplastics to seepage, with storm drains providing a potential transport route. Keep loose material contained during cleaning rather than washing it into a drain.
Make an annual post-storm walk part of your maintenance routine:
- Record new changes: Photograph fresh soft spots, edge settlement, or areas that dry differently.
- Keep discharge accessible: Clear leaves and debris without pushing them farther into the pipe.
- Watch high-traffic areas: Check entrances and common walk-off points for localized changes.
- Contain loose material: Collect displaced infill and debris instead of flushing them off site.
Use our artificial putting green maintenance guide alongside these drainage checks. Surface grooming and buried-system inspection serve different purposes, and both matter.
Catch a restriction early, while outlet cleaning or a localized edge correction may still be enough. Permanent drainage without inspection is a promise you shouldn't rely on.
Book a Drainage Visit Before You Build
Schedule a site visit while your putting green is still a plan, or when an existing installation repeatedly ponds. A photograph can show a wet patch, but it can't establish pipe fall, soil behavior, or the elevation available for discharge.
At Modern Yard Co., we offer a free drainage tile consultation and build putting greens that drain well, stay level, and roll true. Our groundwork addresses drainage and stability before the finished surface goes down.
Bring observations and expect clear answers
If possible, arrange the walk-through after rain and have your photographs ready. Identify the troublesome area, any known buried drainage, and changes made to the surrounding terrain.
Emily reported that her drainage system works perfectly and that even heavy rains leave no pooling. That customer feedback is encouraging, but your project still needs its own site assessment and a clear explanation of the proposed water route.
Before committing, have these points addressed:
- Construction: What gravel depth and base materials are proposed?
- Discharge: What pipe slope is available, and where will water daylight?
- Coverage: Which installation defects, drainage components, and labor are covered?
- Conditions: What exclusions, claim procedures, and coverage duration apply?
Read the coverage before approving the work
The FTC's business guide to federal warranty law explains applicable written-warranty requirements, including pre-purchase availability, designation as full or limited, and clear presentation of coverage information. For your project, get the relevant terms in writing before you approve the work.
Separate workmanship coverage from later blocked outlets, site alterations, or damage caused by another contractor. Clear terms give you something concrete to evaluate instead of a broad promise that drainage will always be perfect.
Use the appointment to resolve the buried details before buying the visible surface. Request a written plan that identifies grade, base construction, discharge, and maintenance responsibilities.
Modern Yard offers a free drainage tile consultation to help address standing water and plan putting green drainage before installation. Visit Modern Yard Landscapes to schedule your appointment, and bring your post-rain photos so we can discuss the wet areas and the route water needs to take.