
You're looking at an Austin patio that's solid but uninviting. Artificial grass seems like the obvious upgrade: cover the concrete, soften the appearance, and give the family or dog a more usable outdoor space. Then you start wondering where rainwater will go, whether the surface will be comfortable in summer, and whether adhesive alone will hold everything together.
Those are the right questions. Artificial turf on concrete installation starts with the slab, not the grass. I'd rather tell a homeowner that the concrete needs correction than install an attractive surface over a problem they can no longer see.
Why Concrete Changes the Entire Turf Equation
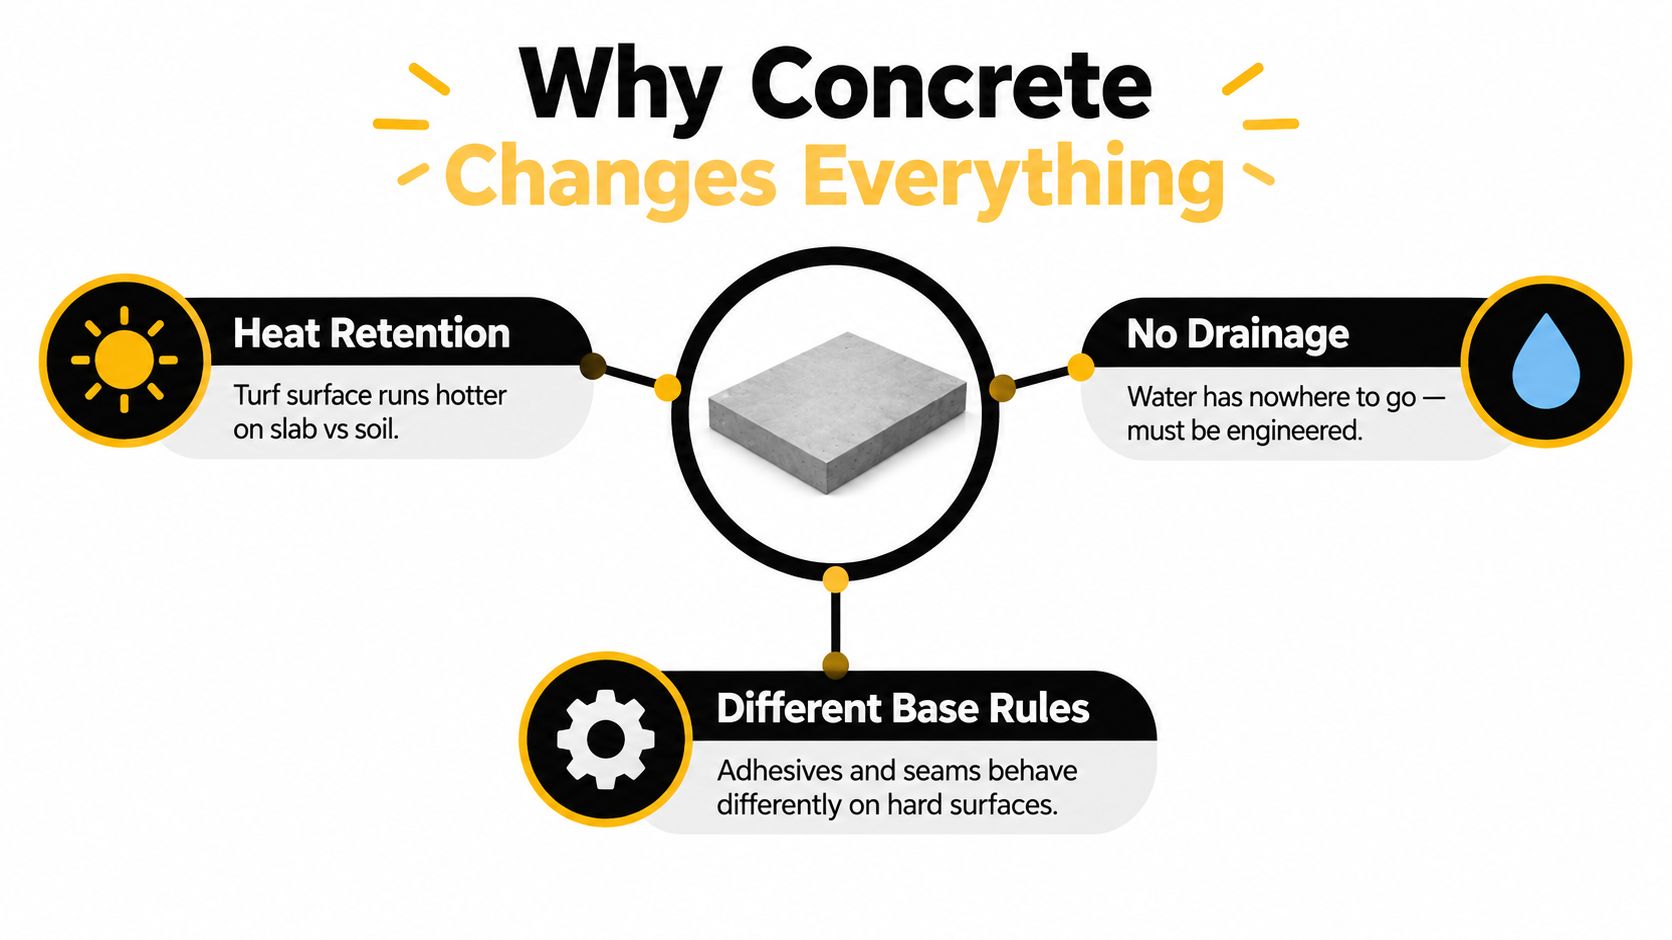
Concrete isn't just another surface you can cover with turf. It changes how the installation handles water, how you fasten the edges, and what you need to check before approving the work. A good-looking roll of grass doesn't make those decisions for you.
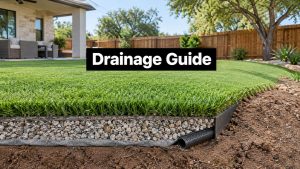
Unlike an aggregate base, concrete absorbs little or no rainfall. Water must move across the slab and reach an outlet, channel, or perimeter drain. A technical review of synthetic-turf construction identifies drainage and firm stability as fundamental base requirements and explains why concrete installations need deliberate drainage design.
Think in Layers, Not Adhesive Coverage
The slab may already provide a stable foundation. That doesn't mean it provides a complete foundation for turf.
I'd evaluate the installation as a connected assembly: turf backing, any selected cushioning or drainage layer, prepared concrete, and the actual discharge point. Each component needs to work with the next. A permeable backing is useful only when water passing through it has somewhere to go.
Existing concrete also sets practical boundaries. Before choosing a pad or edging system, check door clearances, drain elevations, and transitions to adjacent paving. Don't select a thick assembly first and discover later that it interferes with access.
My starting rule: If an installer can't identify the final water outlet, the design isn't ready for turf.
Make the Important Decisions Before Ordering
I want these choices settled before anyone starts cutting material:
- Drainage routing: Identify the path from the covered slab to a functioning discharge point.
- Heat management: Decide whether the intended use requires shade or other measures.
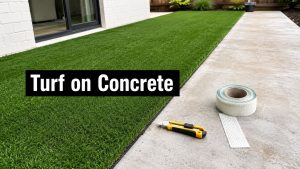
- Fastening method: Match the attachment system to the concrete, turf backing, and exposure.
- Seam placement: Plan panel joints around traffic, sightlines, and drain access.
- Infill selection: Choose a product for the space rather than accepting a default.
These decisions belong together. For example, the perimeter attachment must accommodate the planned drainage route, and the pad needs to suit both the intended feel and the water-management design.
That's why I wouldn't recommend buying turf first and figuring out the installation afterward. Concrete-first planning gives you a defensible project scope, including an honest answer about whether the existing slab should be covered at all.
Preparing the Slab Before Anything Else
Don't unroll the turf until the concrete has passed inspection. Covering damage, contamination, or ponding makes the next repair harder to diagnose and access.
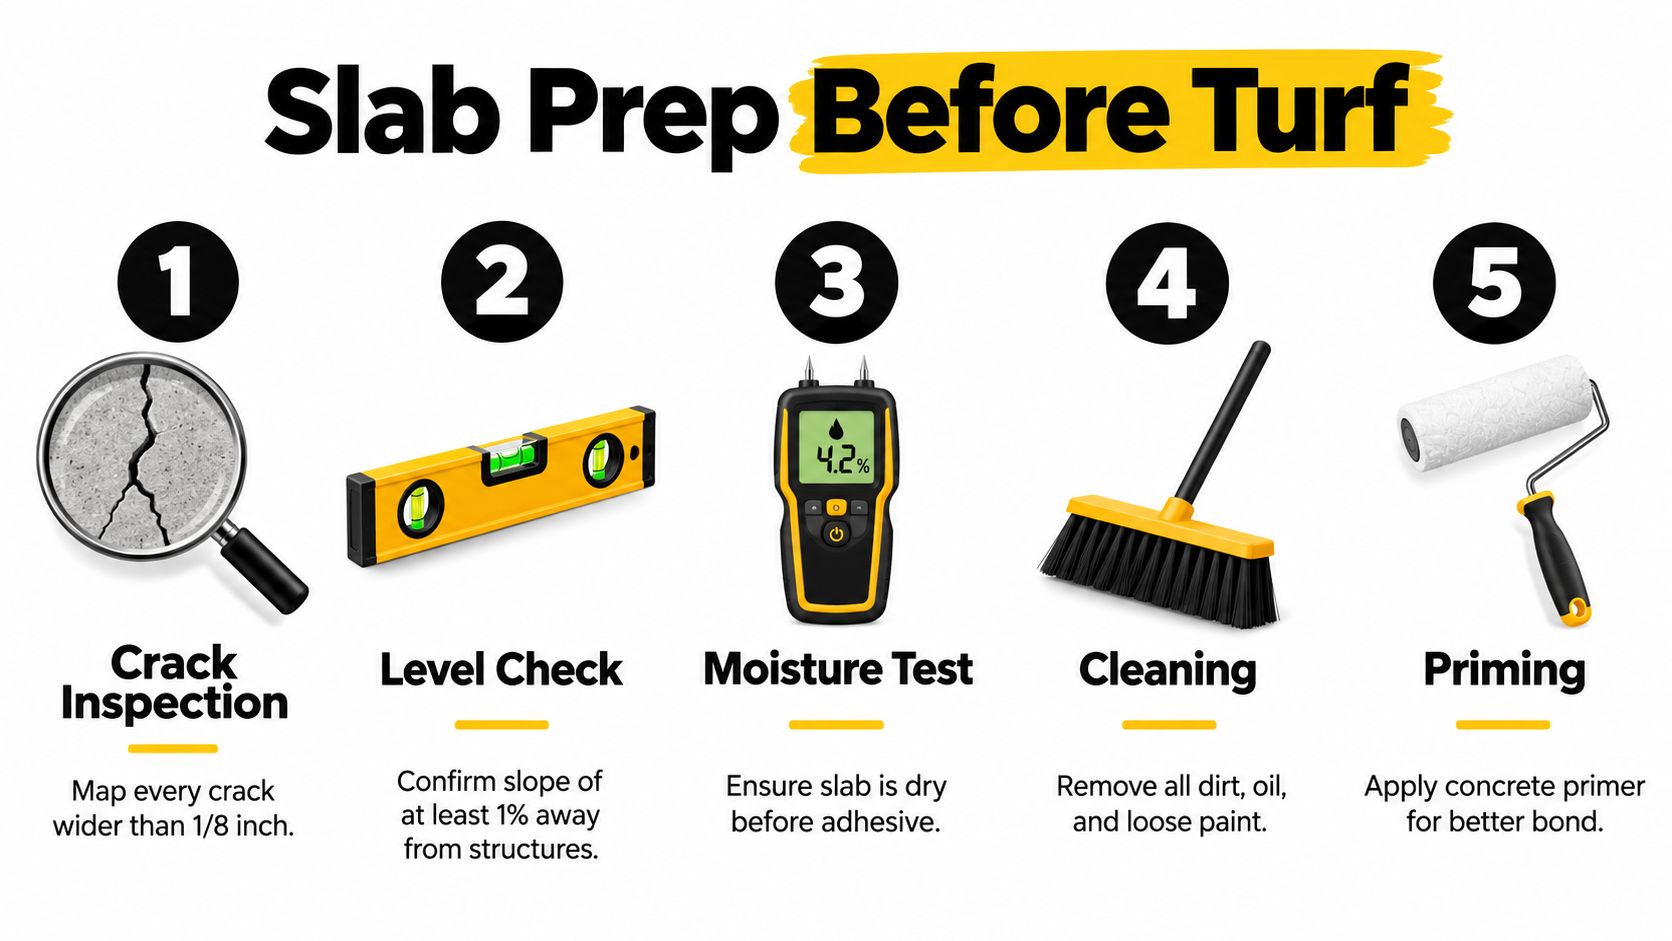
The preparation standard is straightforward: the substrate should be sound, clean, dry, stable, and smooth. The Robertson PupTurf installation specification provides useful planning benchmarks: new concrete generally needs at least 7 days of curing, drainage slope is approximately 0.25 inches per foot, and surface flatness is within 0.125 inches over 10 feet. Treat those as reference criteria, not substitutes for the selected system's instructions.
Inspect, Measure, and Correct
Inspect the concrete itself. Map cracks, loose surface material, damaged edges, and areas that appear unstable. Don't assume a visible defect is cosmetic. If its cause is unclear, have a qualified concrete or structural professional assess it before an overlay hides it.
Measure the intended drainage direction. Use a straightedge, level, or laser level to document elevations. Smoothness and slope aren't the same thing: the finished surface needs to support the assembly while retaining a deliberate fall toward its outlet.
Run a controlled flood test. Use a hose to watch where water travels and where it remains. Mark low spots while they're visible, then select a repair method compatible with the concrete and installation system. Don't flatten away the fall you need.
Remove bond-inhibiting contamination. Clear dust, oil, loose paint, old adhesive, and other residues. If you need help approaching an oily patch, Ventura County Roof Cleaners' guide to clean grease off your driveway is a useful resource to consult; final acceptance still depends on your adhesive manufacturer's preparation requirements.
Verify dryness and product compatibility. Ask which moisture assessment the adhesive requires and whether a primer is specified. A slab that looks dry isn't a reason to skip the required checks.
Know When Preparation Becomes a Different Project
For a rooftop or balcony, I'd insist on verifying waterproofing and drainage constraints before approving repairs or attachments. Don't let an installer treat those locations like an ordinary ground-level patio.
Ask for the proposed layers in writing. This explanation of what goes under artificial turf can help you discuss the assembly, but your estimate should identify what belongs on your slab.
Stop the installation when the substrate remains questionable. Turf is a finish, not a structural repair, and infill isn't a leveling compound.
Solving Drainage and Heat Together
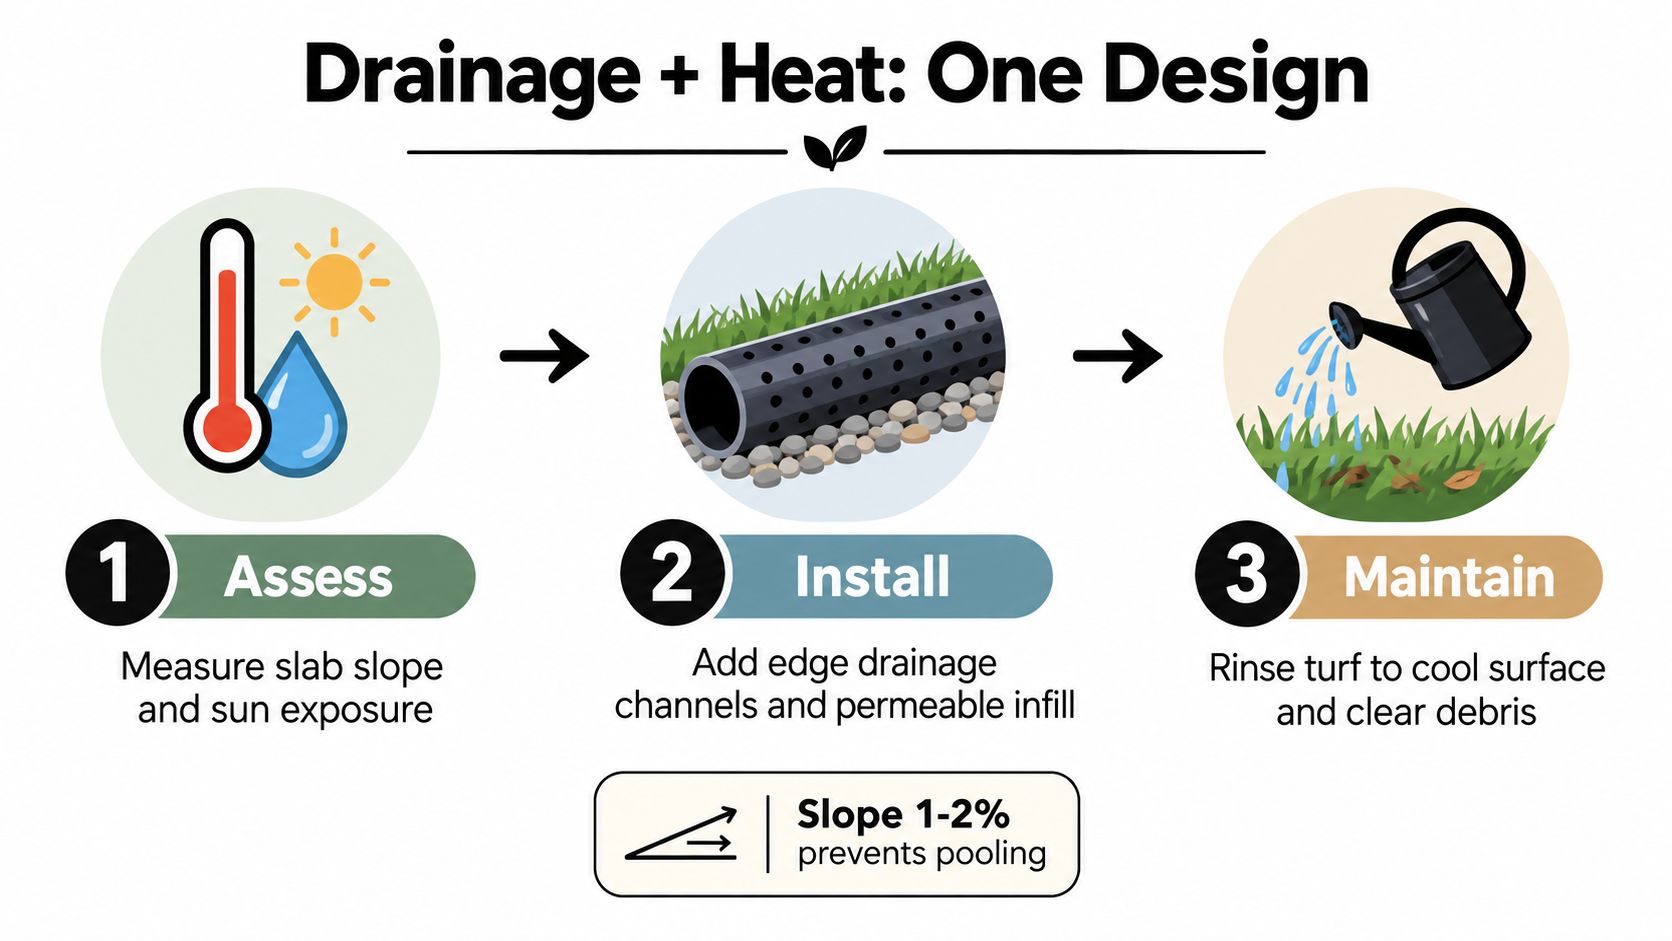
For an Austin patio, I'd assess sun exposure during the same visit as drainage. Otherwise, you can end up with a surface that handles rainfall but isn't comfortable when the family wants to use it.
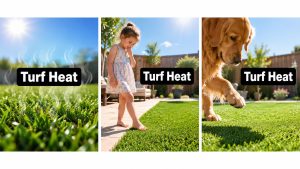
Concrete stores and re-radiates solar heat, while synthetic turf lacks living grass's evaporative cooling. In Penn State's research on turf temperature and irrigation, traditional synthetic turf ran 35–60°C hotter than natural grass; irrigation reduced surface temperature by 60–85%, but within 30 minutes it returned to 74–102% of its pre-irrigation temperature. Those findings don't predict your patio's exact temperature, but they rule out treating occasional watering as a permanent cooling solution.
Choose the Water Path for the Actual Slab
Use the simplest drainage arrangement that can be demonstrated to work. Don't add a pad merely because it's listed as an accessory, and don't cut concrete without a designed discharge route.
- Existing fall and open outlet: Evaluate whether the proposed assembly can preserve drainage to that outlet without blocking access.
- Restricted movement beneath the backing: Consider a drainage mat or air-gap layer with a documented path to discharge.
- Cushioning needed for the use: Evaluate a permeable shock pad as part of the complete system, not as an automatic drainage fix.
- Low edge needing collection: Consider a channel drain connected to an appropriate outlet.
- Persistent ponding or no viable discharge: Correct or redesign the slab before approving an overlay.
The SurfaceMax public installation specification reinforces the need to evaluate drainage as a system. It also cautions that drilling or cutting should account for reinforcement, waterproofing, utilities, and the intended discharge route.
Design for the Hours You'll Use It
A shaded sitting area and an exposed dog run deserve different recommendations. I'd prioritize shade for barefoot areas and pet spaces, then evaluate the turf and infill beneath it. Ask suppliers for relevant heat-testing conditions rather than accepting a cooling label at face value.
A green surface isn't proof of a comfortable surface. Check it during peak sun before letting children or pets use it.
Use a hand check or infrared thermometer to assess conditions, and provide pets with access to a cooler shaded route. Plan occasional rinsing as a maintenance task, not a promise of all-day comfort.
For a homeowner comparing proposed layouts, this guide to drainage for artificial grass provides useful context. At the appointment, ask the installer to demonstrate outlet performance with water and explain the shade plan on the same drawing.
Laying, Seaming, and Fastening the Turf
The installation should follow a deliberate sequence, not whichever task is easiest to start. Once the preparation and system design are approved, the installer can lay out the turf without improvising around unresolved defects.
Start with a dry fit. Position the panels, align their direction, and examine the layout from the house, patio seating, and main approach. I'd keep seams away from obvious focal points and heavily used transitions wherever the dimensions allow.
Make the Layout Work Before Making It Permanent
Let the material settle according to its manufacturer's handling instructions before final trimming. Don't use direct sun as a universal shortcut; the working conditions still need to suit the material and adhesive.
Keep drain openings visible during layout. At walls, posts, and curved edges, trim gradually with a sharp blade rather than making an aggressive first cut. Check the finished transition height before committing to the perimeter detail.
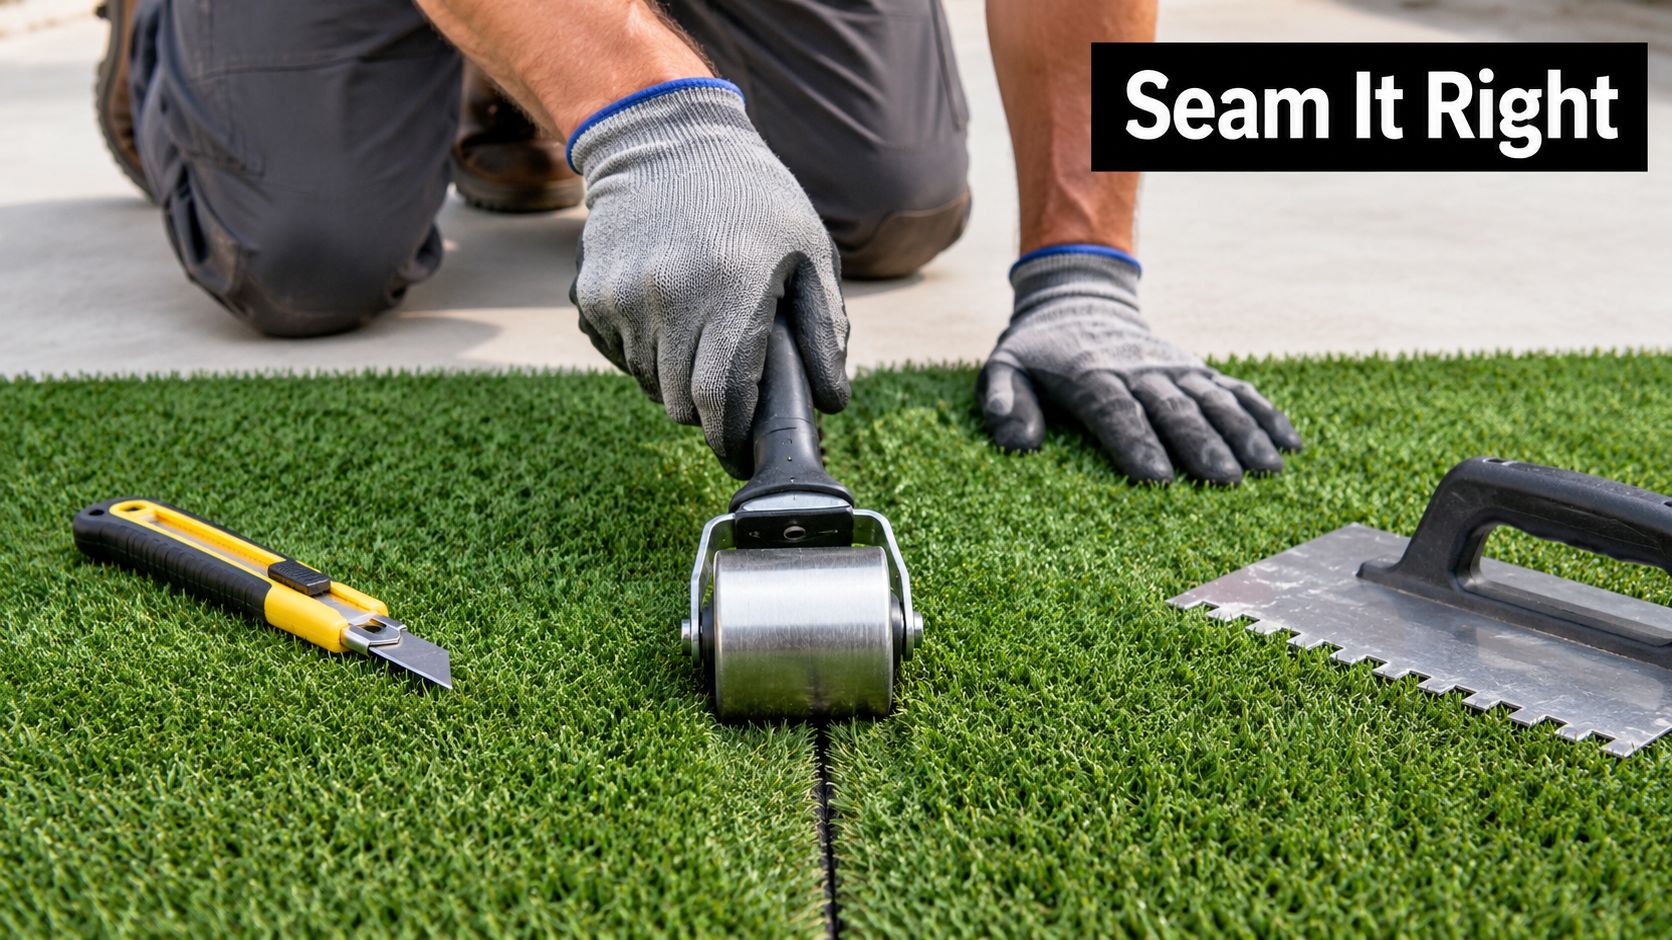
Join panels on a clean, dry working surface using the specified seam tape and adhesive. Align the cut edges without trapping fibers in the bond, and use the pressure or rolling method the system requires. I'd inspect the seam from different viewing angles before proceeding.
Before bonding: Confirm the panel direction, edge fit, drain access, and seam alignment. Adhesive shouldn't be the moment you discover a layout mistake.
Match the Fastening to the Detail
Perimeter adhesive and mechanical edging are options to evaluate, not interchangeable defaults. Ask the installer to identify the exact attachment method at corners, exposed edges, and transitions. If steel edging is proposed, the estimate should explain how it will be anchored and finished.
For DIY work, I'd pay particular attention to these junctions rather than treating the broad central area as the whole job. A neat field of turf won't excuse a poorly secured corner or an awkward doorway transition.
Follow the previously established product conditions for adhesive application and curing. Don't substitute a convenient general-purpose glue for a compatible system, and don't open the area to use before the specified cure is complete.
Seam inspection comes before infill. Brush the joins so trapped fibers can be identified, then apply the selected infill in controlled lifts and groom repeatedly according to the turf instructions. Brushing isn't a final cosmetic pass alone; it's part of distributing the material and checking the finish as you work.
Before handover, I'd walk every transition with the homeowner and show how the drains remain accessible for maintenance.
Choosing the Right Infill for Your Space
Don't accept an infill recommendation without its exact product name and a reason it suits your project. Over concrete, I'd choose by intended use, documented heat performance, compatibility, and maintenance requirements, not by whatever material is already on the truck.
There isn't a reliable universal ranking that makes every quartz product cooler or every coated sand suitable for pets. A public-health evidence review of artificial turf emphasizes that daytime heat performance depends on site and weather conditions. Your installer should explain how a proposed infill was evaluated, rather than turn a product category into a temperature guarantee.
Infill Options Compared for Concrete-Base Turf
| Infill Type | Best Use Case | Heat Behavior | Maintenance |
|---|---|---|---|
| Silica sand | A compatible general-purpose system where no specialized feature is required | Don't assume it provides cooling | Confirm grooming and replenishment instructions |
| Rounded quartz | A system specifying that grain shape and grading | Ask for product-specific heat evidence | Review cleaning requirements and approved application |
| Recycled-tire rubber crumb | A specialty system calling for rubber infill | Require relevant thermal information before choosing it for exposed areas | Obtain handling, cleaning, and use guidance |
| Acrylic-coated sand | A pet area when the exact product is specified for that application | A coating alone isn't proof of cooler performance | Confirm compatible cleaners and care instructions |
| Cooling or antimicrobial infill | A space with a clearly defined heat or hygiene objective | Check testing conditions and whether cooling requires moisture | Ask what care the claimed feature requires |
The useful comparison is between specific products in the proposed turf system. Don't let a category name replace a written recommendation.
Match the Choice to Everyday Use
For a shaded patio, I'd avoid paying for a specialized claim unless it solves a clear need. For a dog run, I'd ask how the product fits the cleaning routine and what any antimicrobial claim covers. Neither label removes the need to clean the surface.
A rooftop terrace needs a heat-management discussion before an infill sales pitch. For a putting green, request the turf manufacturer's infill specification and discuss the desired playing characteristics before approving a substitute.
- Ask for identification: Get the manufacturer and product name.
- Ask for evidence: Request support for cooling, hygiene, or safety claims.
- Ask for upkeep: Have the installer explain cleaning, grooming, and replenishment.
Use this overview of artificial grass infill to prepare for that conversation. Choose the maintenance routine you're willing to follow, not a promise that the surface will look after itself.
Why Professional Installation Pays for Itself
Professional installation earns its value when the contractor turns site conditions into a documented plan. Paying someone merely to glue down turf isn't the same service, and no installer should promise that every project will recover its cost.
Ask for a written scope covering preparation, materials, attachments, exclusions, and warranty responsibilities. The FTC's advertising guidance for small businesses requires truthful, non-deceptive claims supported by evidence. That's a useful standard for judging promises about performance and maintenance.
Look for Documentation, Not Reassurance
A clear estimate should separate material choices from site work and specialized features. Contractors may use tools such as Exayard estimating software for landscapers, but software isn't a substitute for inspecting the slab and explaining the scope.
For Austin projects, get a project-specific permit determination. Austin's drainage-facility code requires applicable drainage improvements to follow the Drainage Criteria Manual, with maintenance and erosion protection consistent with the Environmental Criteria Manual.
Before signing, ask:
- Site plan: Where are the measured elevations and tested outlets documented?
- Installation qualifications: What training or certification applies to this turf system?
- Warranty: Which installation and maintenance conditions affect coverage?
- Insurance: Can the contractor provide current evidence of coverage?
- Satisfaction policy: What remedy, exclusions, and notification process are written down?
The FTC's guidance on guarantees explains that guarantee language must accurately communicate the offer and its terms. A confident verbal assurance isn't enough.
When comparing artificial turf installation contractors, favor the one who can explain the work before asking for approval. An appointment should give you clarity about the slab, the options, and the responsibilities on both sides.
Modern Yard Landscapes offers residential and commercial turf installation, design, and maintenance in the Austin area, including putting greens and pet-friendly dog runs. Visit the website to call and schedule an appointment for your concrete patio, courtyard, or pet area, and ask for a site-specific discussion of slab preparation, drainage, heat management, and installation costs before choosing your turf.