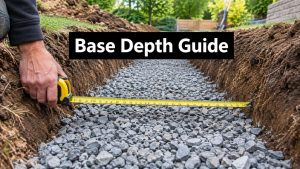

You're standing in the backyard with a tape measure, looking at a retaining wall that needs to hold back a slope, a patio, or a garden bed. The block choice feels urgent, but the part that determines whether the wall stays straight is mostly hidden below grade. Retaining wall base depth isn't one magic measurement. It's a layered decision involving buried block, compacted aggregate, frost protection, drainage, soil, slope, and local requirements.
Austin makes the decision less forgiving. Expansive clay, sudden rain, drainage problems, and site slopes can turn a shallow trench into a leaning wall before you've had much time to enjoy the finished outdoor area. The practical approach is simple: measure each layer separately, identify the forces acting on the wall, and get professional input before excavation if the site has height, slope, water, or surcharge concerns.
Why Retaining Wall Base Depth Matters More Than You Think
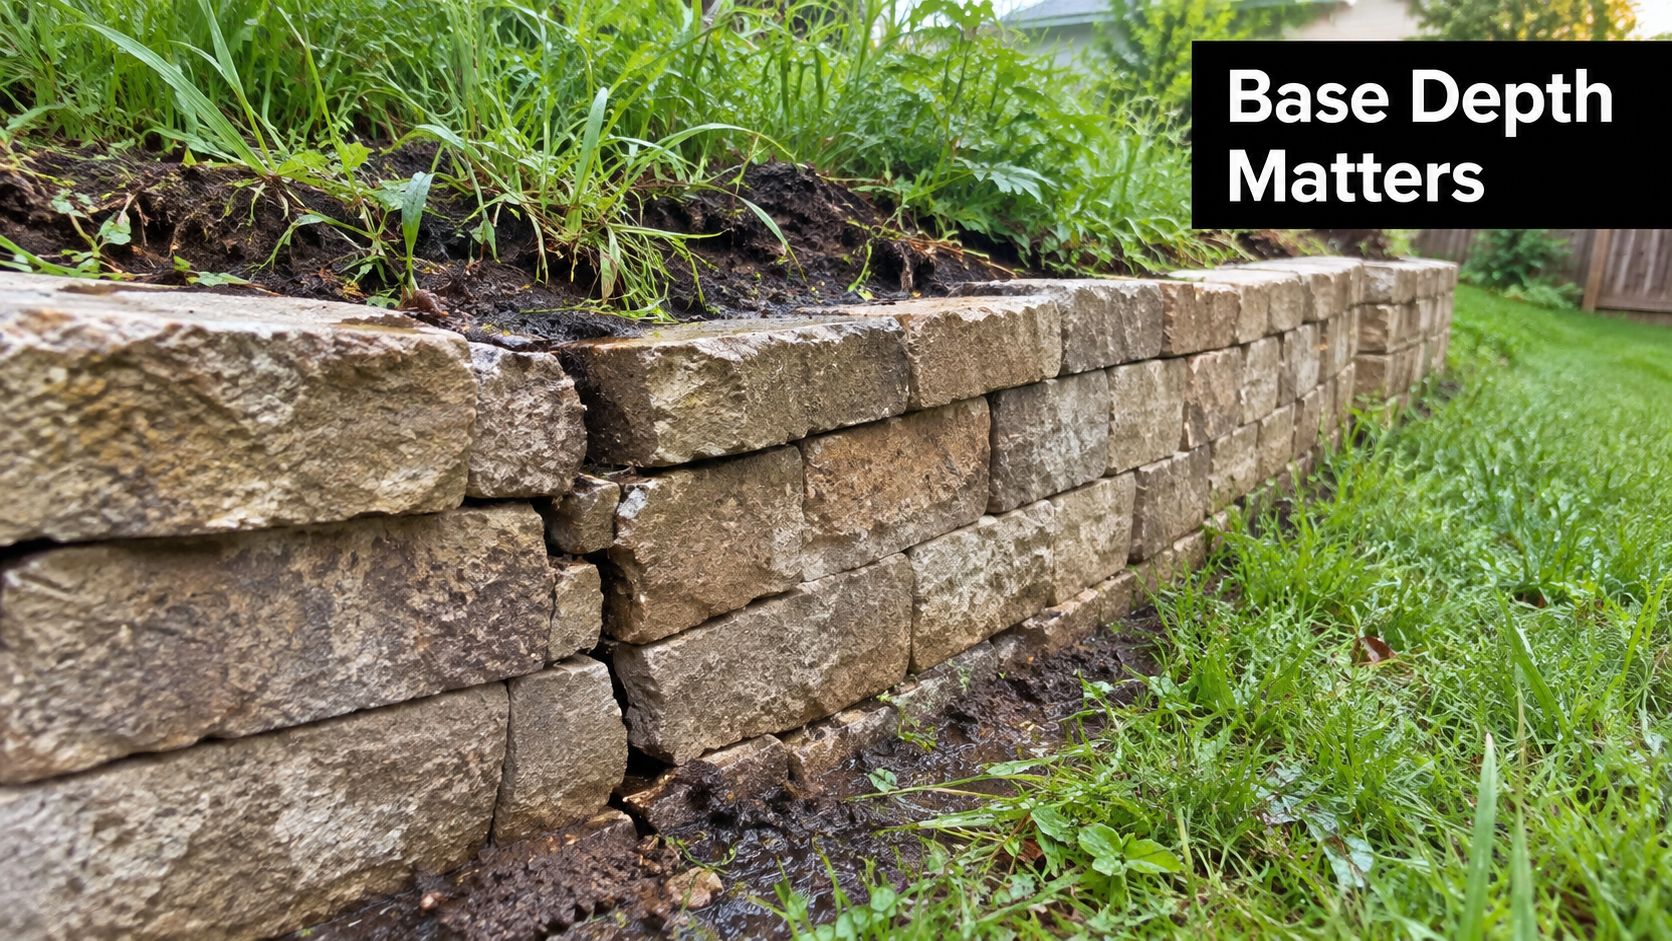
A common Austin failure scene looks harmless at first. A backyard wall is only two years old, then a wet spring arrives and the face leans forward by two inches. The blocks may still look intact, but the base has lost the resistance that kept the wall upright.
The buried portion of the wall helps resist overturning, while the compacted base distributes the wall's weight into the soil. That weight also creates friction against sliding. If the foundation is shallow, loose, or poorly drained, the wall has less working room to resist pressure from the soil behind it.
Every vertical foot adds load. Soil weight, moisture, slope above the wall, and nearby surfaces all influence the lateral force pushing toward the face. Guidance from retaining wall engineering standards identifies 12 inches of embedment below finished grade at the wall face as a widely cited baseline, while footing depth may also need to extend below the local frost line. In many cold-climate U.S. jurisdictions, that frost depth is around 30 inches, and some local adoptions require 36 inches, so the controlling excavation can exceed 2 to 3 feet even for a moderate wall.
The failure chain starts below the first course
When the base is too shallow, saturated clay behind the wall swells and creates additional pressure. Water can also build up behind the wall, increasing the force on the face. The toe then begins to kick outward, the first course loses alignment, and upper courses separate or rotate.
Contractors often save money during construction by reducing excavation or skipping proper compaction. That decision rarely saves much compared with the cost of removing, rebuilding, and regrading a failed wall. In my experience, the extra excavation and crushed stone needed to establish a sound base is a small construction adjustment, while a failure becomes a complete repair.
Practical rule: If you can't identify the buried course, aggregate thickness, drainage path, and soil condition separately, you don't yet know your wall's base depth.
Before you dig, answer three questions:
- Is the exposed wall height below the applicable permit or engineering threshold?
- Does the ground behind the wall slope upward, carry a driveway, pool deck, structure, or other surcharge?
- Can water drain safely through and away from the base?
If any answer is unclear, call a qualified contractor or engineer first. A site visit before excavation is cheaper and less disruptive than correcting a wall after it moves.
The Three Layers That Make Up Your Wall Base
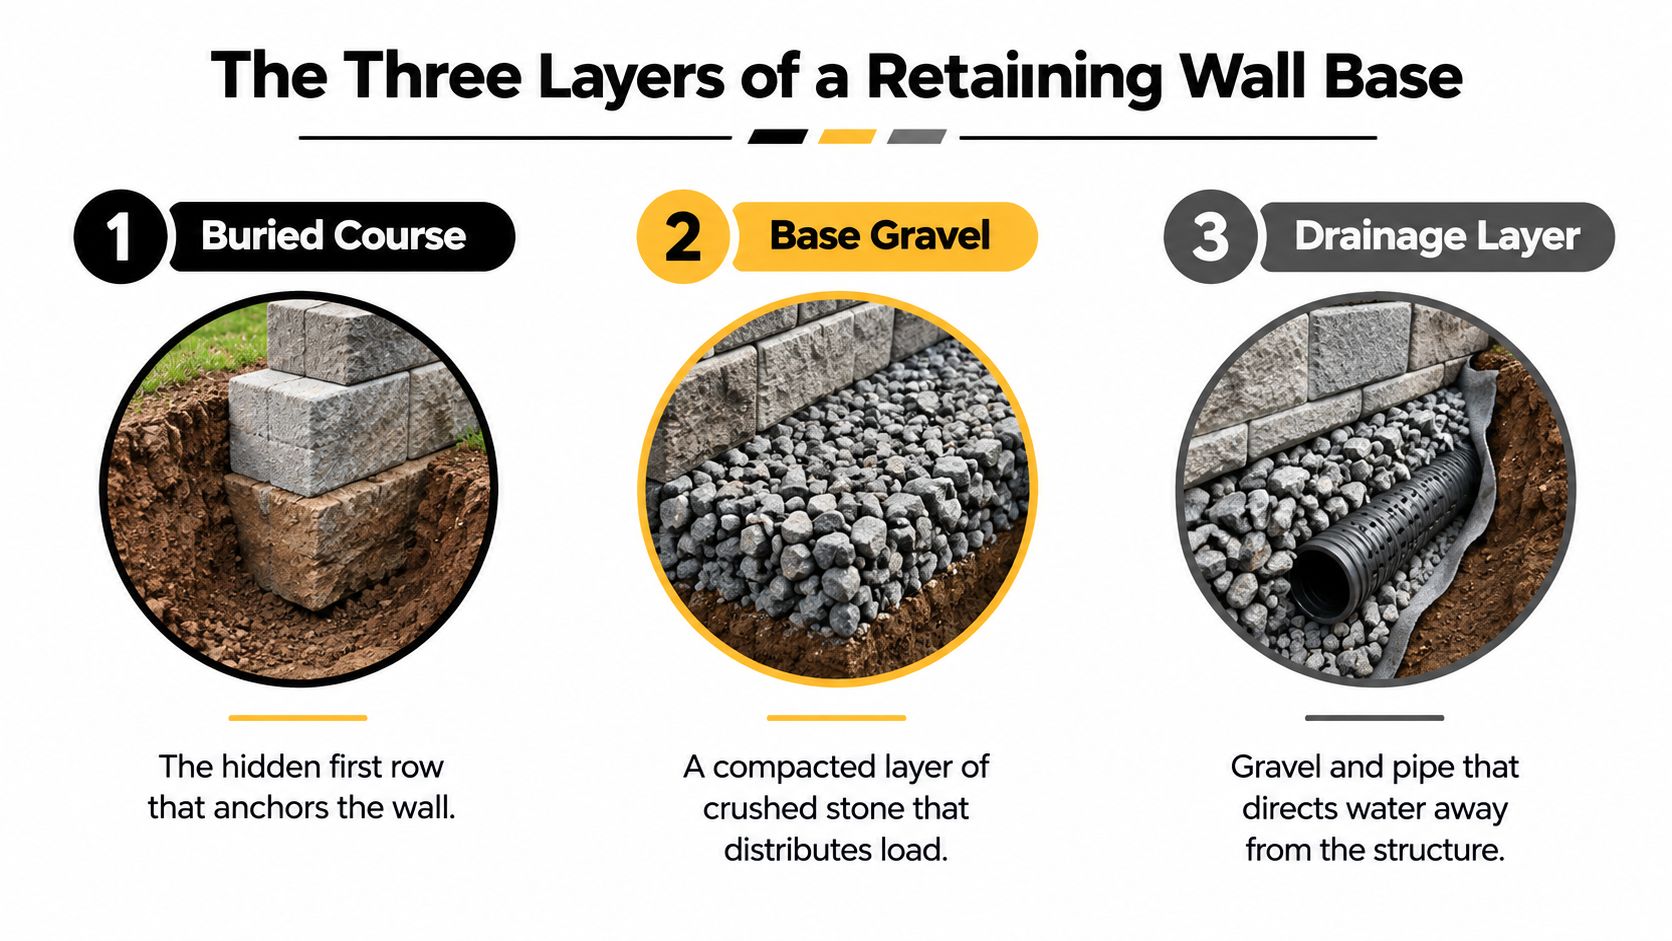
Think of the base as a stack, not a single trench measurement. A stable segmental wall generally includes the buried first course, a compacted aggregate footing, and the leveling surface that allows the first course to sit flat.
Layer one is the buried course
The buried course is the portion of the first row that sits below finished grade. For many segmental block installations, the first course is partially buried, but the exact amount depends on the wall system and site conditions. Taller gravity walls may require embedment that scales with wall height rather than a fixed dimension. Allan Block's embedment guidance describes 6 inches of buried block as a minimum and adds 1 inch for every additional foot of wall height above 6 feet.
Use a tape measure from the final grade in front of the wall to the bottom of the first course. Don't measure from the temporary excavation edge. Finished grade, mulch, paving, and erosion can change what remains buried.
Layer two is the compacted aggregate
The footing is the crushed stone directly under the wall. For segmental retaining walls, common guidance specifies a 4-inch minimum base for walls under 4 feet and a 6-inch gravel base for walls over 4 feet. Total trench excavation often reaches 12 to 15 inches after adding the buried first course and leveling material, as described in segmental wall installation guidance.
In Austin, contractors commonly use crushed limestone or Class II road base. Place it in manageable lifts and compact each lift with a plate compactor. Rounded pea gravel is a poor substitute because it shifts under load and doesn't create the same stable, interlocking platform. Decomposed granite also shouldn't be mixed casually with rounded stone. Use a specified aggregate that can be compacted and that suits the wall manufacturer's installation requirements.
Layer three is the leveling pad and drainage relationship
The leveling pad is the finished working surface created by the aggregate and any approved screed layer. Its job is to give the first course a continuous, level seat. If the first course rocks, dips, or has voids beneath it, the wall starts out of alignment.
For a deeper explanation of appropriate retaining wall base material, check the material guidance before ordering. You can also use build paths with Value Tools Co when planning adjacent hardscape, but keep walking surfaces and wall foundation materials as separate specifications.
Tell your supplier: “I need approved crushed aggregate for a compacted wall base, enough for the specified buried first course, the leveling layer, and the drainage zone.”
Base Depth Rules of Thumb by Wall Type and Height
Rules of thumb are useful for choosing the right conversation with a contractor. They're not a replacement for engineering when the wall is tall, loaded, sloped, or exposed to water.
| Wall Type and Height | Buried Course | Aggregate Base Depth | Total Excavation | Permit Trigger |
|---|---|---|---|---|
| Timber or garden wall under 2 feet | Minimal burial suited to the system | About 4 inches where approved | Buried course plus base | Usually below the common height trigger, but verify locally |
| Segmental concrete block, 2 to 4 feet | One full buried course is a practical target | About 6 inches | Often about 12 to 15 inches for a typical system | Verify at 4 feet of exposed height and local conditions |
| Gravity wall, 4 to 6 feet | Embedment increases with wall size and site forces | About 8 to 12 inches, with a deeper key trench where required | Design-specific | Engineering and permit review may apply |
| Reinforced or taller wall over 6 feet | Design-specific embedment | Engineered footing and geogrid typically required | Design-specific | Treat as an engineered project |
The comparison reflects published segmental wall guidance that ties excavation to base material plus buried embedment, rather than treating the trench as one universal dimension. ReCon's embedment recommendations identify 6 inches minimum embedment, or H/20, when there's no slope at the toe, while also noting that local code may require the base to be below frost penetration depth.
For Austin homeowners, the practical dividing line is whether the wall is short, the yard is level, drainage is controlled, and nothing heavy sits behind it. A level garden wall without surcharge may be a manageable project. A taller wall, a wall supporting a driveway, or a wall near a slope needs more than a block supplier's estimate. Review the retaining wall construction detail before finalizing materials.
The deciding question is this: Is the wall holding back a low garden bed, or is it retaining soil that carries additional height, water, traffic, or structures? The second situation is where DIY math stops being dependable.
Soil, Slope, and the Austin Clay Factor
The soil behind the wall often controls the design more than the block does. Dense clay creates high lateral pressure and drains poorly. Sandy loam usually drains more freely and produces a different load profile. Rock or properly compacted fill can provide stable bearing, although excavation and drainage detailing may become more difficult.
A simple jar test can help you understand what you're dealing with. Put representative soil in a clear jar, add water, shake it thoroughly, and let the particles settle. Sand drops first, silt settles later, and clay remains suspended longer. The test won't replace a geotechnical evaluation, but it can reveal whether the backfill is dominated by fine, sticky material or more freely draining particles.
| Soil Type | Compacted Gravel Base | First Course Burial | Drainage Pipe Required | Slope Surcharge (+ per ft of rise) |
|---|---|---|---|---|
| Dense clay | May push the design toward a 12-inch base with reinforcement | Deeper burial may be needed | Strongly recommended | Increase depth based on design review |
| Sandy loam | Often about 6 inches where the wall system allows it | System-specific | Recommended where water collects | Evaluate the slope and runoff |
| Rock or compacted fill | Design around bearing and excavation conditions | System-specific | Required if water can collect | Evaluate concentrated loads and runoff |
Austin's Blackland Prairie clay deserves special attention because it shrinks and swells as moisture changes. That movement can disturb a shallow first course, especially when irrigation, roof runoff, or poor grading repeatedly wets the soil. Some local installations may call for the first course to sit 8 to 10 inches below grade, with a perforated drain pipe just above the base, but the actual detail should follow the wall system and site design.
The clay soil drainage improvement guidance is useful when the wall is part of a broader grading project. Don't treat the soil behind the wall as something to backfill with whatever came out of the trench.
Austin site warning: A new fill slope needs proper compaction verification before it becomes the foundation for a retaining wall. If the soil is loose, depth alone won't fix the problem.
A slope above the wall adds surcharge. As a preliminary planning adjustment, some field guidance increases base depth by roughly 1 to 2 inches for every foot of slope rise, but a steep or loaded slope needs an actual stability review. Don't build on a fill slope less than two years old without compaction testing.
Drainage and the Base Working Together
A properly sized base can fail quickly if water sits behind it. Drainage isn't a separate upgrade added after the wall is built. It's part of the foundation system, and the pipe, gravel, fabric, and discharge route need to be planned before backfill.
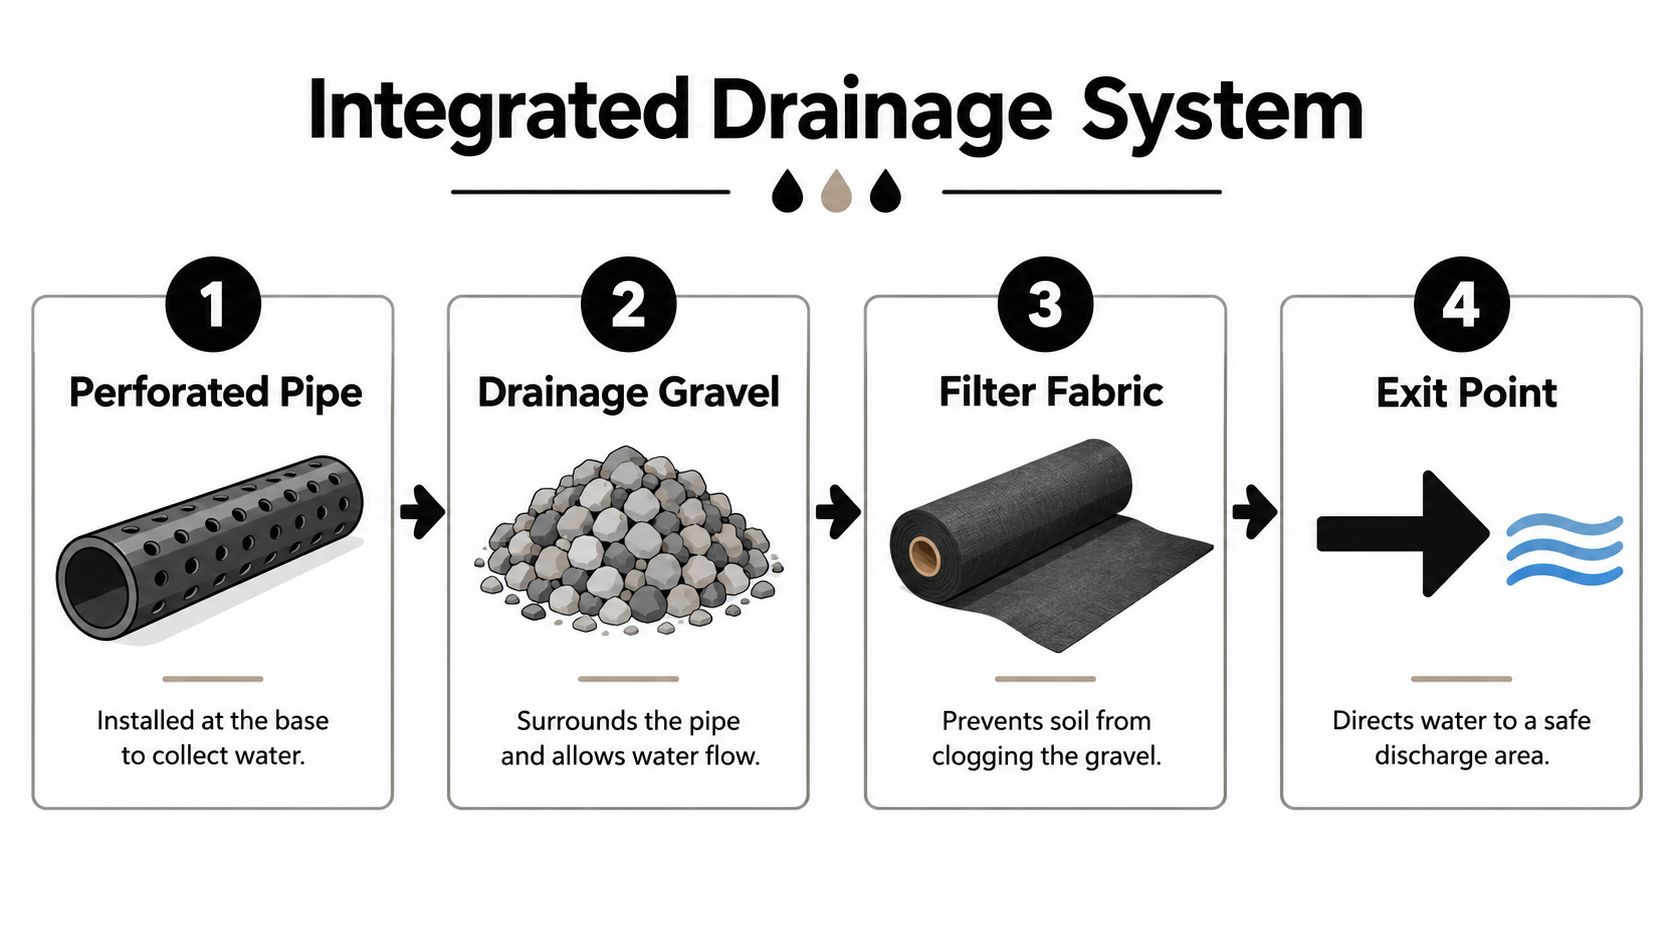
Use four components together:
- Perforated pipe: A 4-inch perforated pipe sits 2 inches above the footing level so it can collect water without undermining the aggregate base.
- Drainage gravel: A 12-inch gravel column directly behind the wall gives water a relatively open path downward.
- Geotextile separation: Filter fabric keeps fine soil from migrating into and clogging the drainage stone.
- Safe outlet: Daylight outlets or pop-up emitters every 50 feet carry collected water away from the wall and the foundation area.
These dimensions come from the project guidance provided for this wall system. Confirm the final arrangement against the manufacturer's details and site discharge conditions. The gravel column should rise from the base at least 12 inches and cover the full height of the buried first course.
Keep water out before it reaches the wall
Open-graded crushed limestone, such as TxDOT Grade 2 or a similar specified material, can serve both as a load-distributing base and a drainage layer. When compacted to 95%, the material can retain roughly 25% to 30% void space for water movement, unlike rounded pea gravel, which shifts under load. Use the aggregate specified for the wall, not whichever stone is easiest to buy.
Downspouts and irrigation lines are frequent Austin trouble spots. If either one discharges behind the wall, a marginal base can become saturated during a single rainy season. Reroute those lines before backfilling, and review the broader retaining wall drainage guidance before the trench is closed.
For broader grading context, this drainage and grading guide by Aureli Construction can help you think through where collected water should go. Never send it toward a neighboring foundation, a property line, or an area where erosion will expose the wall toe.
The Permit and Inspection Triggers Most Homeowners Miss
Many Austin homeowners assume a retaining wall is a feature and therefore outside the building process. That assumption can create expensive problems. Austin follows the International Residential Code with Local Amendments, and the height, location, loading, and relationship between tiered walls can change the approval path.
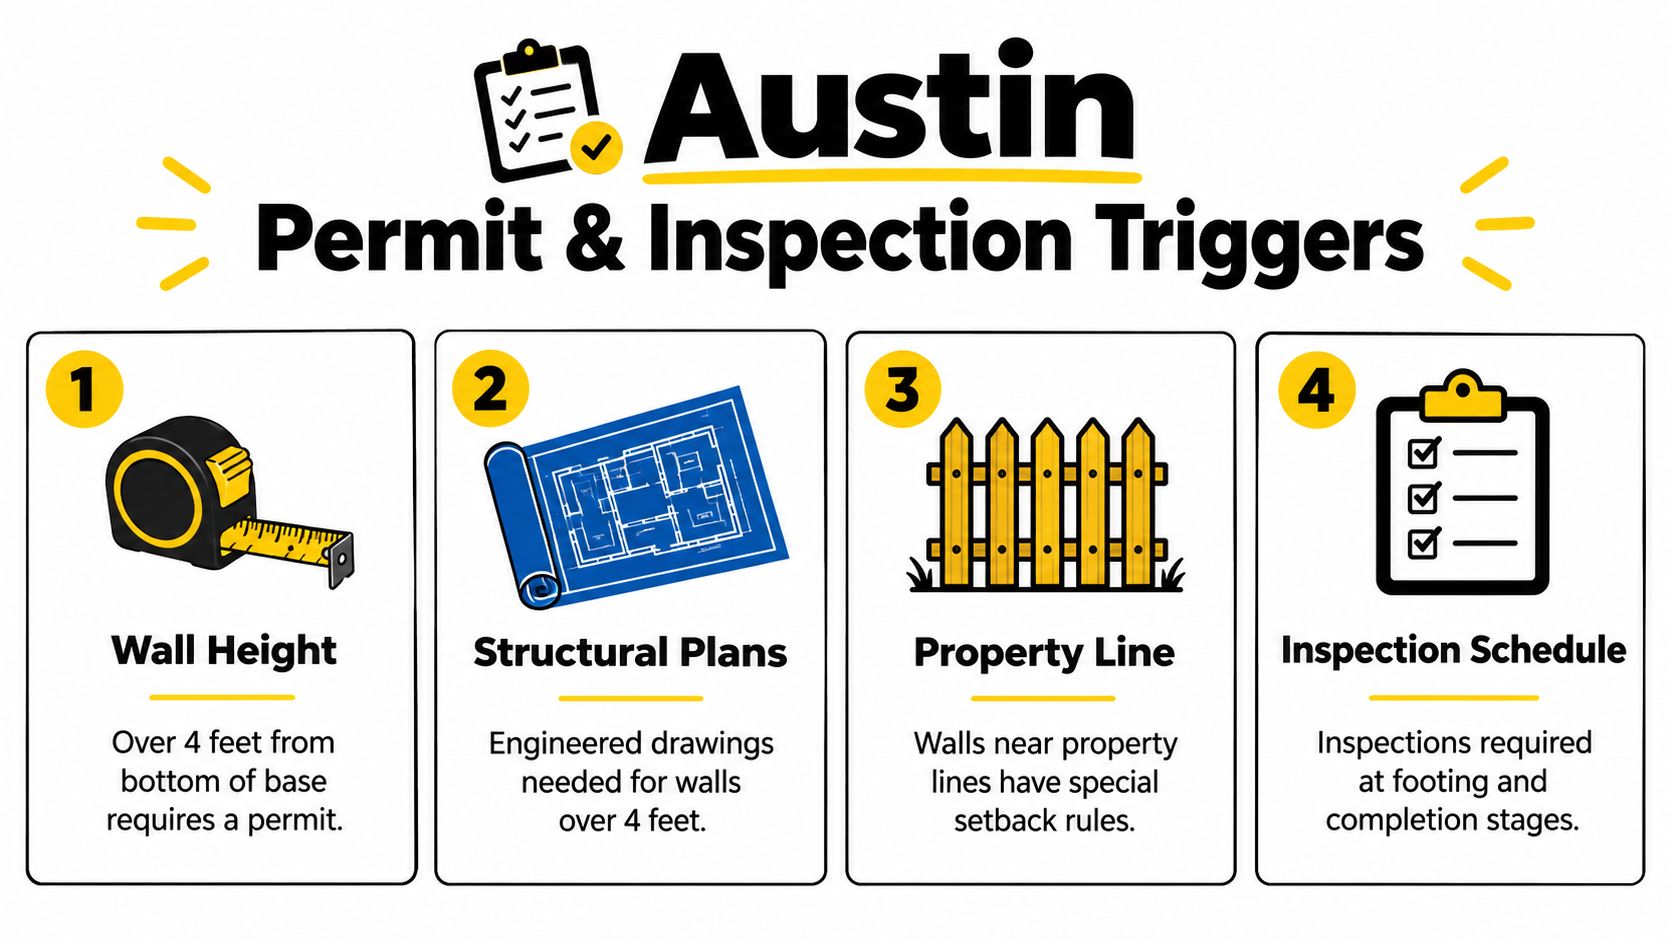
The key threshold commonly discussed for Austin is over 4 feet measured from the bottom of the footing to the top of the wall. At that point, plan for a building permit and engineered drawings. Some HOA-governed neighborhoods in Travis, Williamson, and Hays counties may use a lower trigger of 3 feet, so the city threshold isn't the only rule that matters.
Measure the wall the way reviewers measure it
Don't measure only the visible face. A wall with a modest exposed face can still cross the threshold once the buried footing or base is included in the measurement from the bottom of the footing to the top.
Terraced walls also deserve caution. If two walls are within 2H, where H is the taller wall's height, reviewers may count them together for permit purposes. A pair of 3-foot walls on a sloped yard can therefore create a combined retaining condition that exceeds what a homeowner expected from looking at each wall separately.
Red flags include:
- Height: The wall exceeds 4 feet from the bottom of the footing to the top of the stem.
- Surcharge: A driveway, pool deck, parked vehicle, structure, or other heavy use area presses on the soil behind the wall.
- Terracing: Tiered walls have less than twice the lower wall's height between them.
- Steep ground: The slope above the wall runs steeper than 2:1.
- Sensitive location: The wall sits near a waterway, utility easement, property line, or drainage path.
Each condition changes the load calculation. A surcharge adds force behind the wall. A steep slope affects global stability. Closely spaced terraces can behave as one larger retaining system. Utilities and waterways add review concerns that a simple block layout cannot resolve.
Inspections matter at the foundation stage
Base depth becomes difficult to verify after the wall is complete, which is why inspections happen before critical layers disappear. A typical approval path may include:
- Footing inspection before gravel placement, so the excavation and founding condition can be reviewed.
- Rebar or geogrid inspection, when the design requires reinforcement.
- Final drainage inspection before backfill, so the pipe, gravel, outlets, and separation fabric remain visible.
Austin Energy and City Watershed Protection may also review walls near utility easements or waterways. Don't assume a contractor can bypass these concerns by calling the project a garden wall.
Before excavation: Call Austin Development Services at 311, pull the parcel profile, and confirm whether your specific wall needs a permit or additional review.
That 20-minute call can prevent a stop-work order and tear-out. It also tells you whether a stamped footing detail or engineered retaining system belongs in the plan before equipment arrives.
Engineered walls in Austin typically run $40 to $60 per square face foot, compared with $25 to $35 per square face foot for a straightforward build, based on the project cost guidance provided. The higher design cost reflects the additional calculation, documentation, reinforcement, and inspection coordination. Paying for that work up front usually makes more sense than repairing a failed wall three years later.
Your Next Step and How We Can Help
Start by classifying the project.
A simple DIY build may be reasonable when the wall is under 3 feet, the yard is level, drainage is already controlled, and no driveway, deck, pool, building, or other surcharge sits behind it. Use the wall manufacturer's installation details, establish the buried course, compact the approved aggregate, and keep water moving to a safe outlet.
A middle-ground project is one where the wall looks manageable but the site introduces uncertainty. A structural engineer's site visit, costing $400 to $800 in the Austin market, can pay for itself when clay, slope, poor fill, drainage, or nearby loads make the base depth unclear. That visit can identify whether you need geogrid, a deeper footing, a key trench, or a different wall type.
An engineered permit-grade wall needs a coordinated team. A licensed contractor can organize design, utility locates, excavation, base preparation, wall construction, drainage installation, and final inspection instead of leaving each critical handoff to chance.
For a 30-foot segmental wall in Austin, a practical sequence looks like this:
- Week 1: Complete permits, utility locates, measurements, and material confirmation.
- Week 2: Excavate, establish the founding level, place aggregate, and compact the base.
- Week 3: Install block, reinforcement where specified, and compact backfill in stages.
- Week 4: Complete drainage connections, final grading, surface restoration, and inspection.
Request a base-depth assessment before you commit to materials or schedule excavation. You'll know whether the project needs a simple installation detail, an engineer, or a permit-grade construction plan.
Modern Yard Landscapes can assess your Austin site, coordinate retaining wall installation, and address the drainage and grading details that determine whether the base performs. Visit Modern Yard Landscapes to schedule a base-depth assessment before breaking ground.