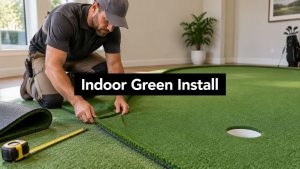

You're standing in the spare room with a putter, picturing a green between the sofa and the door. The samples look sharp, and the cheapest roll is tempting. Stop before you order it. The slab under your feet decides whether that green still rolls true next year. A cheaper turf on a dry, flat floor usually beats an expensive one laid over a damp or wavy base. Prep is the main cost driver, not the brand on the backing.
An indoor putting green installation lives or dies on moisture, flatness, and how the room is laid out before anyone unrolls a panel.
What an Indoor Green Costs and How Long It Takes
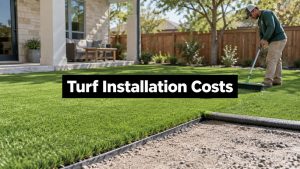
A cost estimate is only useful if it separates materials from floor preparation and installation. The ranges below cover turf, underlay, seam tape, adhesive, and basic edging on a dry, level slab. Moisture control or slab correction can raise the total, so compare quotes by checking what preparation each includes.
| Green size | Area | Materials only (DIY) | Professionally installed (basic) |
|---|---|---|---|
| 6 x 9 ft | 54 sq ft | $432 to $810 | $432 to $810 |
| 8 x 12 ft | 96 sq ft | $768 to $1,440 | $768 to $1,440 |
| 10 x 15 ft | 150 sq ft | $1,200 to $2,250 | $1,200 to $2,250 |
| 12 x 20 ft | 240 sq ft | $1,920 to $3,600 | $1,920 to $3,600 |
Use roughly $8 to $15 per square foot as a basic installed range. Custom contours, lighting, or floor corrections can bring the cost to $15 to $25 or more per square foot. For example, a 10 by 15 foot green covers 150 square feet, putting basic installation at about $1,200 to $2,250. Review this breakdown of putting green installation cost when comparing estimates. DIY material prices vary by supplier, so check current prices before purchasing.
What pushes a quote above the top of the range
Preparation often drives the difference between a straightforward installation and a costly one. A cheaper turf on a dry, flat slab can perform better than premium turf on a damp or uneven base.
Subfloor correction. Leveling compound, crack repair, or a moisture barrier adds materials and may require another visit. If a quote leaves out this work, the low total may not reflect the cost of a lasting installation.
Custom contours and tiered breaks. Shaping high and low points takes more layout time and underlay. A flat practice lane is simpler and costs less.
Access. Stairs, a narrow doorway, or a route through a garage into a living room can slow the crew. Restricted access may mean smaller rolls, additional seams, and more labor.
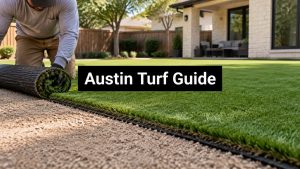
Prices vary by region. In Austin, confirm labor and materials in a written estimate rather than assuming a national range applies.
How long the work actually takes
Slab checks and repairs can take one to two weeks. Installation is often one to two days for a 150-square-foot green, with 24 hours for the turf to acclimate before cutting. Adhesive also needs to cure fully before the first putt, so build that wait into the schedule.
Practical rule: Ask what subfloor correction, custom shaping, and access costs are included before comparing the lowest quote.
Measure the Room and Plan Layout, Light and Air
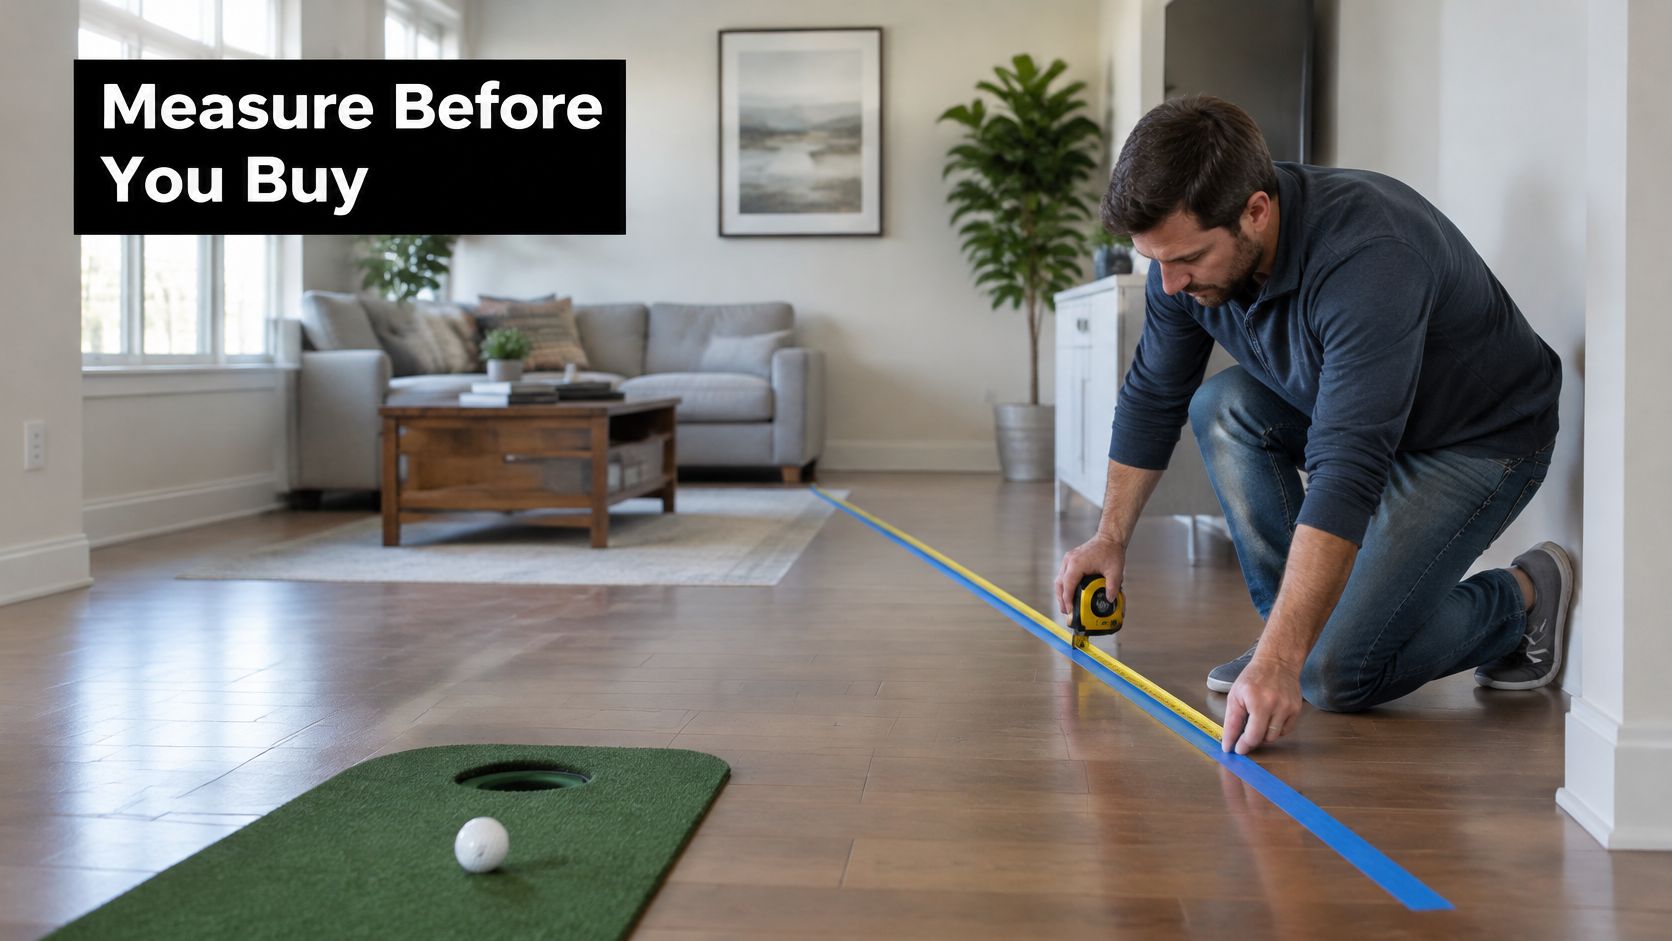
A green that fits the room can still be too short for the putts you want to practise. Measure your longest realistic putt first, then choose a green longer than that distance. A 6 by 9 foot green will not hold a 12 foot putt, so the ball runs off before you can practise the stroke.
| Longest practice putt | Minimum green length | Side clearance | Ceiling and light note |
|---|---|---|---|
| Up to 8 ft | 9 ft | 2 ft per side | 8 ft ceiling minimum |
| 10-12 ft | 13 ft | 2-3 ft per side | 8 ft ceiling; keep fixtures out of the ball line |
| 15-20 ft | 20 ft | 3 ft per side | 9 ft ceiling preferred; even overhead light |
Check ceiling height, door swings, stairs, and furniture locations before settling on a shape. Side clearance is working room for your stance. If a door crosses the fringe when it opens, reduce the green or change its position.
Light, air, and whether the green is for practice
Use even lighting across the surface, without glare along the ball line. A low-angle spotlight can hide breaks. Keep the room at a steady, comfortable temperature and avoid humidity swings. Garages and basements are common trouble spots because conditions can vary, affecting seams and adhesives.
A green's shape should follow the floor, not conceal its problems. Map high and low points with a 10 foot straightedge and a level before deciding where to put contours. The USGA putting green construction record covers outdoor construction, but the practical point indoors is to plan around the surface you have. For help arranging the playing area, use this guide to design a putting green.
A decorative green can curve around a sofa. A training green needs straight, consistent lanes, room for a full stance and follow-through, and a ball-return path that does not cross the main line. The floor and its moisture condition matter more to a green's life than the turf brand. A cheaper turf on a dry, flat slab is a better starting point than expensive turf over a damp or uneven base, so plan space for floor preparation before choosing materials.
Before ordering, record these five details:
- Longest putt: Measure the distance rather than estimating it.
- Ceiling height: Check at the lowest beam, not the open middle of the room.
- Light sources: Note windows and fixtures that shine across the ball line.
- Door and stair clearances: Check swing arcs and the route for carrying rolls inside.
- Floor type under each zone: Record slab, plywood, tile, or vinyl separately.
Prepare the Subfloor Before Any Turf Goes Down
Most failures start here. Turf hides a bad floor for a week, then the ball tells on it.
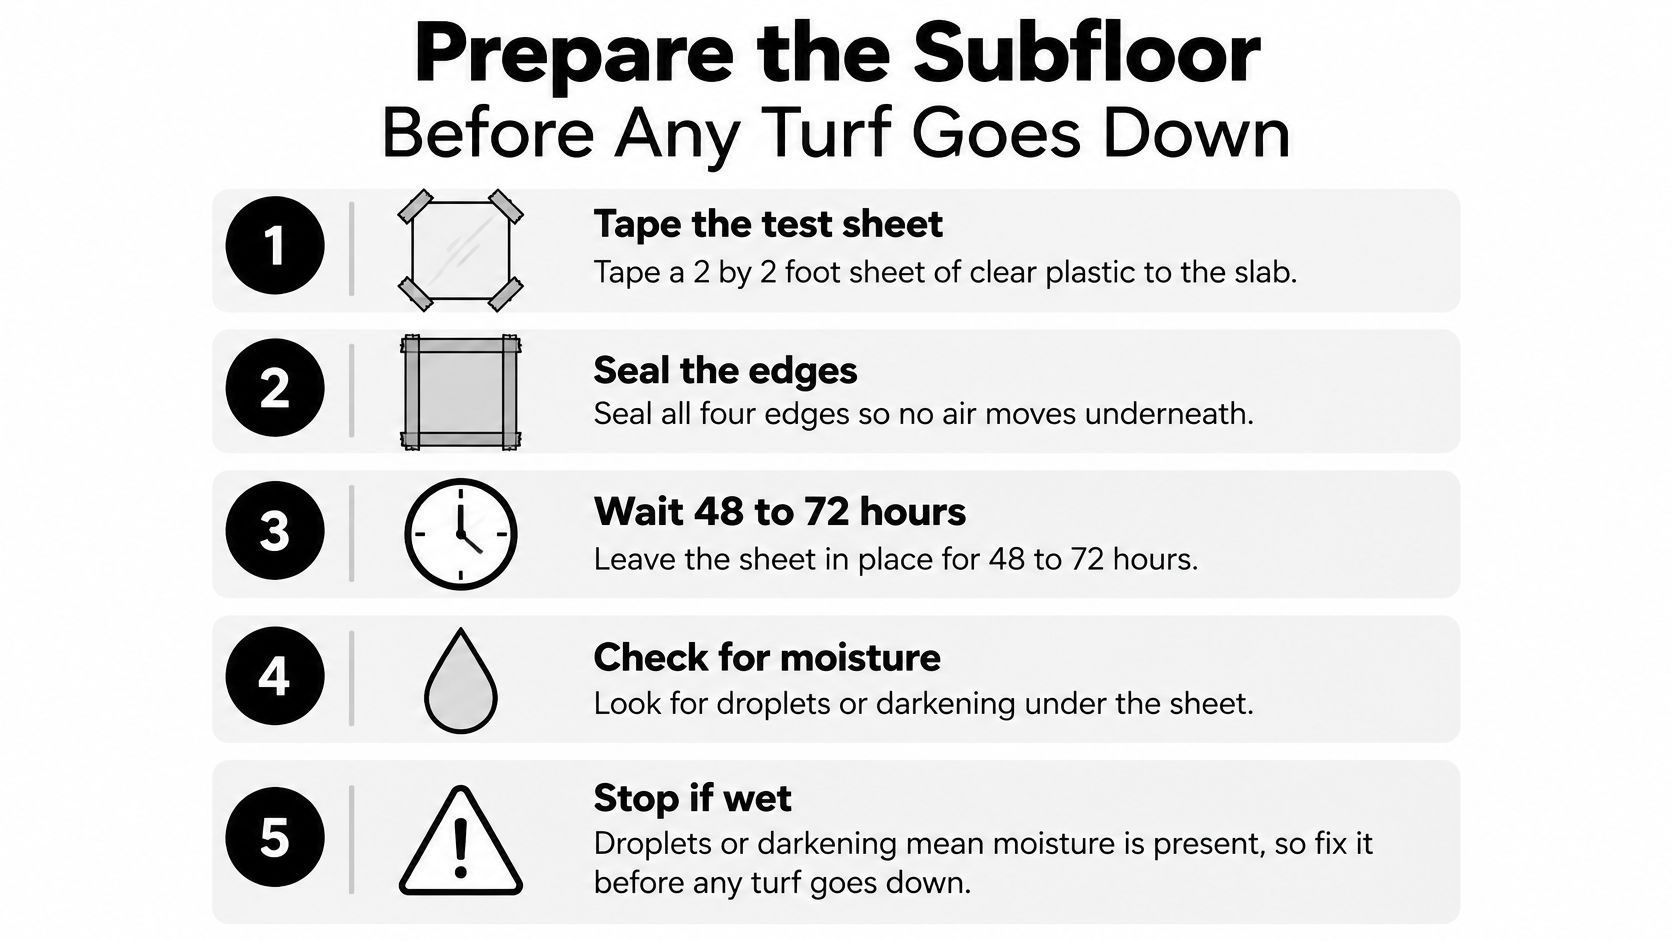
The plastic-sheet test
Tape a 2 by 2 foot sheet of clear plastic to the slab, seal all four edges, and check after 48 to 72 hours. Droplets or a dark patch under the sheet mean moisture is moving through the concrete. A pro can follow that with in-slab relative humidity readings. Don't skip the cheap test because you plan to hire someone later. It tells you whether turf should be ordered at all.
Flatness, then the layer order
Set a 10 foot straightedge and a level on the slab. A dip deeper than about 3/16 inch within 10 feet is a reason to skim with leveling compound before turf goes down. The pile will show every low spot as a rocking patch or a change in ball path. Repair cracks. Grind off paint, sealer, or residue that would block adhesive.
In basements and garages, improve ventilation and consider a vapor barrier or a raised subfloor. Where the green meets the living-room floor, keep the height change small, roughly 1/2 inch or less, so it doesn't become a trip step.
Outdoor greens manage water with a built profile, and the numbers explain why a green is more than carpet. The University of California turfgrass note on USGA construction describes underground drainage pipes, a minimum 4-inch gravel layer, and about 12 inches of sand-based rootzone, plus a historical coarse-sand layer about 1.5 to 2 inches thick. Drainage laterals are spaced no more than 15 feet, with pipe slope of at least 0.5 percent. Don't copy that stack into a living room. Do copy the idea. Give spill and cleaning water a path out from under the turf instead of letting it sit on the slab. If you're putting turf on a hard floor, read through artificial turf on concrete installation before you pick an adhesive.
Work in this order, and don't jump ahead:
- Dry slab. The plastic test stays clear.
- Moisture control. Barrier or raised floor only if the test says you need it.
- Leveling. Skim dips, fill cracks, and remove residue.
- Underlay. Only the pad the floor and the turf maker both allow.
- Turf. Last, after the base is done.
A dry, flat slab with ordinary turf will outplay a premium roll on a damp or uneven base. I would spend the first dollars on the floor, not the fiber.
Choose Turf, Underlay and Adhesive for Your Floor
Match the floor first. The wrong pad or glue will show up as a soft roll, a lifted seam, or a warranty that no longer applies.
| Floor type | Underlay | Fastening and seams | Warning sign |
|---|---|---|---|
| Dry, level concrete slab | Thin dense pad or none | Seam tape with turf adhesive; adhesive along the perimeter | Moisture reading above the adhesive maker's limit |
| Plywood subfloor | Thin dense pad only if the turf maker approves it | Galvanized staples or screws along seams and edges | Flexing, squeaks, or a bouncy feel underfoot |
| Tile or vinyl over concrete | Moisture-tolerant barrier, or remove the old floor | Removable turf tape on sealed surfaces | Tile edges cracking under load |
| Damp or basement slab | Vapor barrier with a raised subfloor | Moisture-compatible adhesive | Efflorescence, odor, or mold; do not install until fixed |
What actually changes the roll
For putting, a short, dense pile of roughly 1/2 to 1 inch rolls truer than a long, loose pile. Check fiber density and backing stability before you compare color. UV resistance matters only where sunlight hits the green. Don't pay for it on an interior green away from windows.
Many indoor greens use no infill, or a light, dust-free infill, so the room stays clean. Sand infill adds weight and can slow the roll. Antimicrobial treatment and cooling fibers are worth a look for pet owners or families with young children. They're upgrades, not requirements for a basic green.
A thin pad hides small imperfections and softens footsteps, yet it can also soften the roll. On a good, dry slab, a thin dense pad, or none, often gives the truest surface. Use turf adhesive and seam tape rated for that subfloor. General carpet glue on a seam that must stay tight is a common regret. Follow the turf maker's warranty list. Some warranties are void when the underlay or adhesive isn't on the approved sheet.
How to Lay, Seam and Edge the Turf
If the floor checks out, the lay-down is a sequence. Rush one step and the next one shows it.
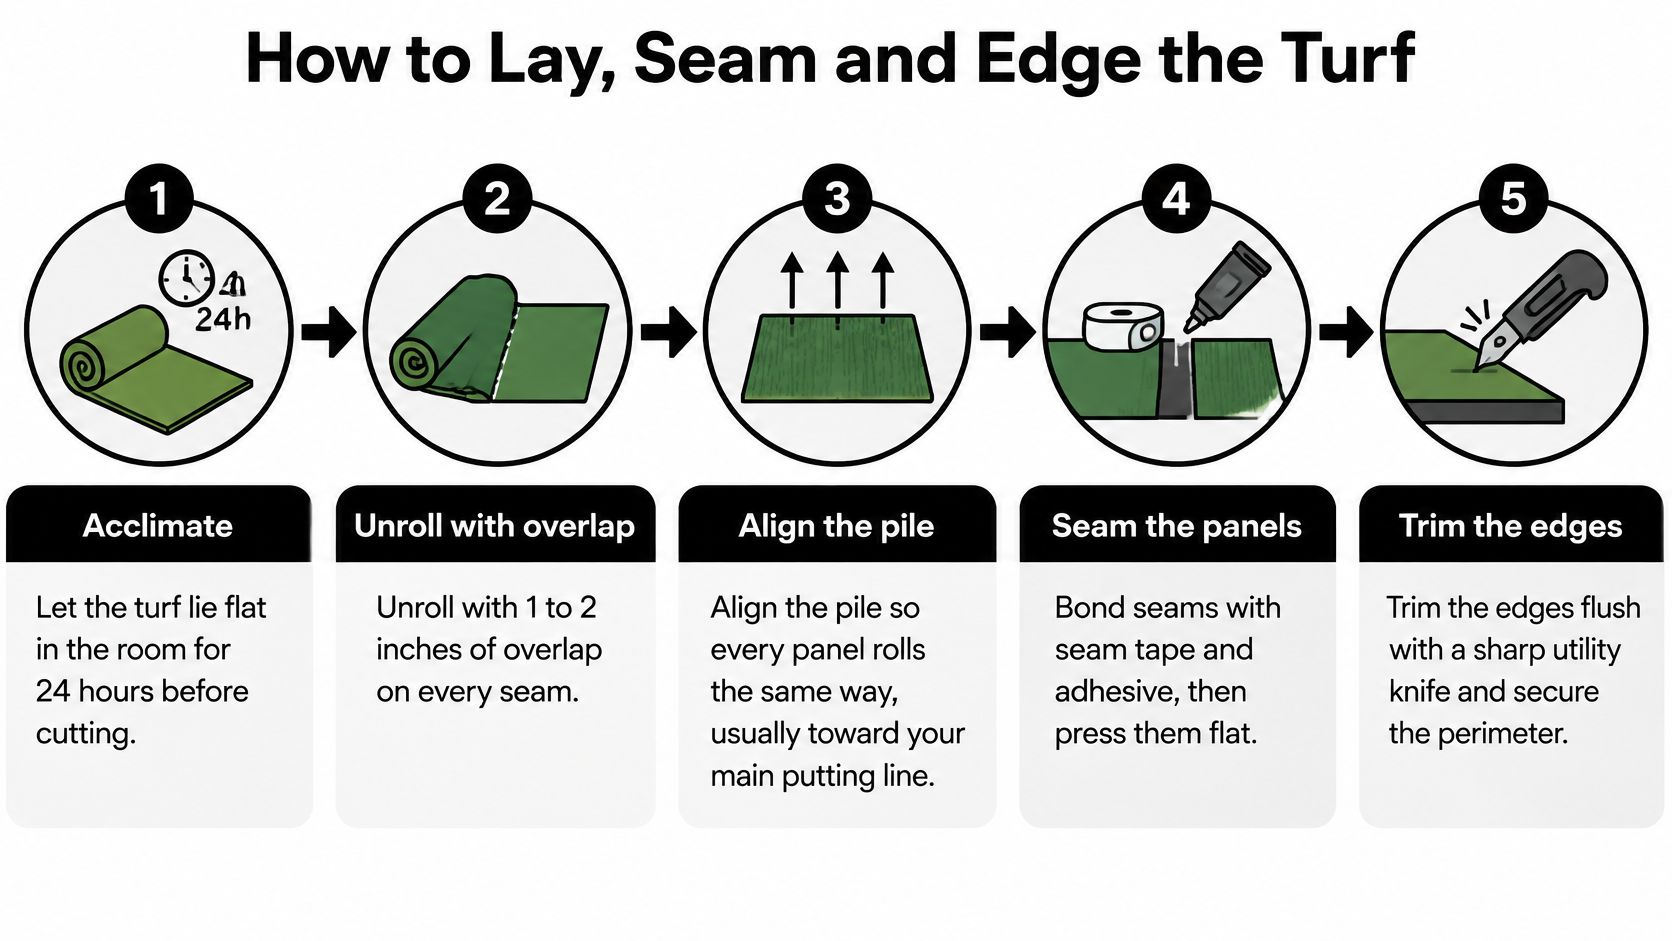
- Let the turf acclimate flat in the room for 24 hours before any cut. Cold backing from a truck or garage curls, and a cut made while it's still tight will gap after it relaxes.
- Unroll with 1 to 2 inches of overlap on every seam. Align the pile so every panel rolls the same way, usually in the direction the ball will travel most. A reversed panel looks fine standing over it and feels wrong the moment you putt.
- Cut seams with a sharp utility knife along the backing, then check that the edges meet cleanly. A dull blade tears fibers into the joint, and those fibers become a ridge.
- Lay seam tape on the subfloor, spread turf adhesive on the tape, press the seam, and weight it for 24 hours. Keep the seam off the main putt line. A seam across that line is the slip people notice every session. For seam layout choices, see artificial turf seams.
- Pull the turf snug at the perimeter and fasten it. Use adhesive along the edges, and staples or screws where the subfloor is plywood. Snug means flat, not stretched so hard the center bubbles later.
- Cut the cup with a 4 1/4 inch cutter only after the turf has relaxed, and fit a liner about 4 inches deep. Cutting the cup early is how the hole ends up oval once the backing settles.
- Set steel or aluminum edging flush with the turf, staked roughly every 12 inches, so the surface runs into the metal with no gap. Edging proud of the turf catches the ball. That's the third common slip, and it's annoying on every putt that dies at the edge.
- Brush the pile upright. Add infill only if that turf calls for it. Wait the full adhesive cure before the first ball. Playing on green adhesive smears the seam and ruins the joint you just weighted.
A DIY attempt on a sound slab is realistic if you can spare a weekend plus the cure time, and if you're willing to recut one seam. It gets expensive in time when the floor needs leveling or a moisture fix you discover after the turf is already down.
Test Roll Speed and Keep the Surface Playing True
Don't call the green finished because it looks even. Mark a level zone and roll six balls from a fixed spot, three in each direction. A Stimpmeter protocol described in turfgrass research uses a 36-inch aluminum bar that releases the ball at approximately a 20-degree angle. The roll distance is the speed reading. Average the six, then write down the range.
What the spread is telling you
A single fast roll means little. A tight spread across several zones means the base is sound. A zone that differs widely often points to a soft spot, a seam, or a slope you missed. Carpet and infill can hide those defects at first. They still show up as wobble, a changing line, or speed that drifts. You can rent a Stimpmeter, or ask the installer to run the test at handover and leave you the numbers.
If you're still choosing a surface for a small space, the top indoor putting mat picks from Golf Problems are a useful comparison before you commit to a full built green.
Blot spills at once. Don't flood a seam. Water that reaches the subfloor, not the water sitting on the fibers, is what causes lasting damage. Brush weekly so the pile stays upright. Vacuum with a non-beater head. Check seams and edges monthly, because a lifted seam changes the ball path. Repeat the speed test quarterly, or after you move furniture or deep-clean.
| Task | Frequency | Why it matters |
|---|---|---|
| Brush the pile against the grain, then with it | Weekly | Keeps fibers upright and the roll even |
| Vacuum with a non-beater head | Weekly on high-traffic greens | Removes grit that scratches fibers |
| Blot spills with mild soap and water | As needed | Stops liquid reaching the seam and subfloor |
| Check seams and edges for lifting | Monthly | Lifted seams and gaps change the ball path |
| Rerun the speed test in several zones | Quarterly or after moving furniture | Shows speed drift before players notice |
| Top up infill and deep clean | Yearly, or as the turf maker specifies | Restores surface firmness and cleanliness |
If two zones on the same green don't agree, fix the floor under the slow one before you blame the turf.
Book a Site Assessment Before You Order Materials
Decide with paper, not a slogan. Before you schedule, ask any installer for current certificates showing personal-liability, workers' compensation, and property-damage coverage. The FTC guide on hiring a contractor recommends verifying those before work begins. Without current coverage, a homeowner could potentially be held liable for injuries or damage during the project. An unsupported "fully insured" line isn't the same as a certificate you can read.

A useful written estimate itemizes area, subfloor and moisture work, leveling, labor, finishing, and optional upgrades such as antimicrobial treatment. It also states a completion date. If one bid sits far below the others, ask which floor step is missing before you treat it as a bargain.
Bring your measurements, photos of the floor, and the plastic-test result to the visit. That appointment is where slab, light, and clearance get checked before any money goes into turf.
If you're set on doing it yourself, use the same gates. Materials-only is realistic when the plastic test is dry, the slab is within 3/16 inch over 10 feet, and the layout fits the room. If any check fails, hand the subfloor work to a professional and keep the turf install if you still want it.
Modern Yard Landscapes designs and installs indoor putting greens for Austin homes, with site prep, turf, and edging handled as one job rather than a carpet drop-in. If you want the slab, moisture, and layout checked before you buy materials, visit Modern Yard Landscapes and schedule a site assessment.