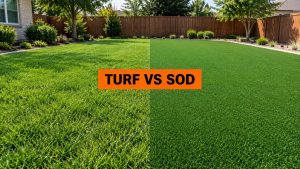

A seam built to the proper standard can determine whether an artificial lawn lasts for 10 years or fails in 2, while AFL and Cricket Australia standards require stitched joints to reach at least 1200 N per 100 mm and bonded joints at least 75 N per 100 mm. Most separation problems start beneath the turf, with weak base preparation and moisture, not with the tape alone.
You notice the problem when the lawn should still look new. A dark line appears between two panels, then the edges begin to part after foot traffic, pet activity, or a stretch of hot weather. The investment feels suddenly unreliable, but the failure usually has a clear cause and a practical solution. Artificial turf seams need engineering discipline, not a quick bead of glue.
The Hidden Weakness in Your New Lawn
A homeowner may spend days choosing the right color, blade shape, and infill, then discover that the most visible defect sits exactly where two rolls meet. The turf face still looks lush, but a seam starts pulling apart near a gate or along a dog run. In Austin, that exposed joint faces repeated traffic, heat, moisture, and movement below the surface.
That frustration is understandable. A synthetic lawn is supposed to remove routine lawn problems, not replace them with a stripe that grows wider every week. Yet the seam is the most vulnerable connection in the system because two separate backings must behave like one surface while the ground beneath them handles changing loads.
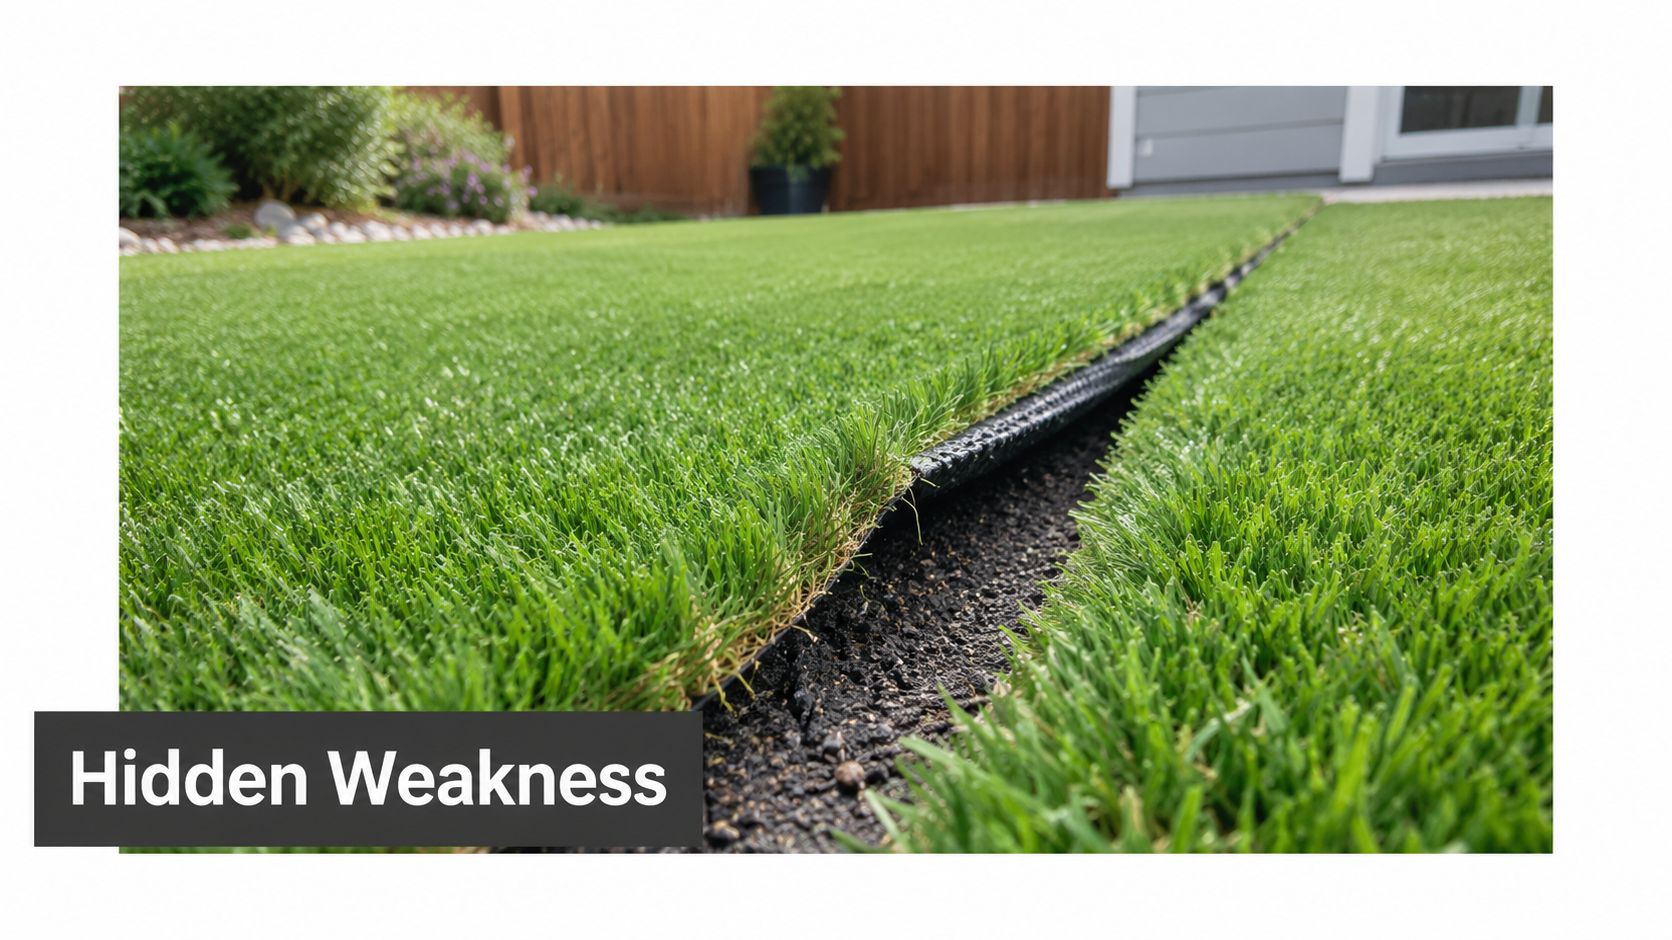
Why the joint fails before the grass
The visible gap is often only the final symptom. A soft or uneven base lets one panel move differently from the other. Water can remain beneath the joint, weaken the bond, and amplify movement as people walk across it. If the installer rushed the layout, cut through a fiber row, or turned one roll against the grain, the seam may show even when the backing remains intact.
That distinction matters. A seam line caused by direction or tuft spacing is an appearance problem. A seam that lifts, frays, ridges, or opens under pressure is a serviceability problem. You can learn more about the underlying water and base risks in this guide to artificial turf drainage problems.
Practical rule: Judge a seam by what happens when the surface is loaded, not only by what it looks like from across the yard.
The fix begins before the tape reaches the ground. A reliable installer checks drainage, compacts the base, matches grain direction, and plans seams away from concentrated stress where possible. That process protects the lawn because the adhesive can't compensate for a foundation that shifts beneath it.
Understanding Materials and Seam Types
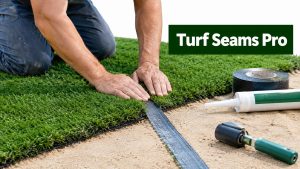
A seam has three working parts: the turf backing, the seaming tape beneath the joint, and the adhesive that bonds both edges to the tape. Each part has a separate job. The backing provides the attachment surface, the tape distributes force across the joint, and the adhesive creates the bond that keeps the panels together.
Tape width matters because a wider strip gives the adhesive more contact area on both sides. The Synthetic Turf Council's 2023 guidance recommends seaming tape 12 inches or wider, with adhesive spread across the full width. That isn't decorative overbuilding. It gives traffic and thermal movement a broader bonded surface instead of concentrating stress along a narrow line.
Match the system to the site
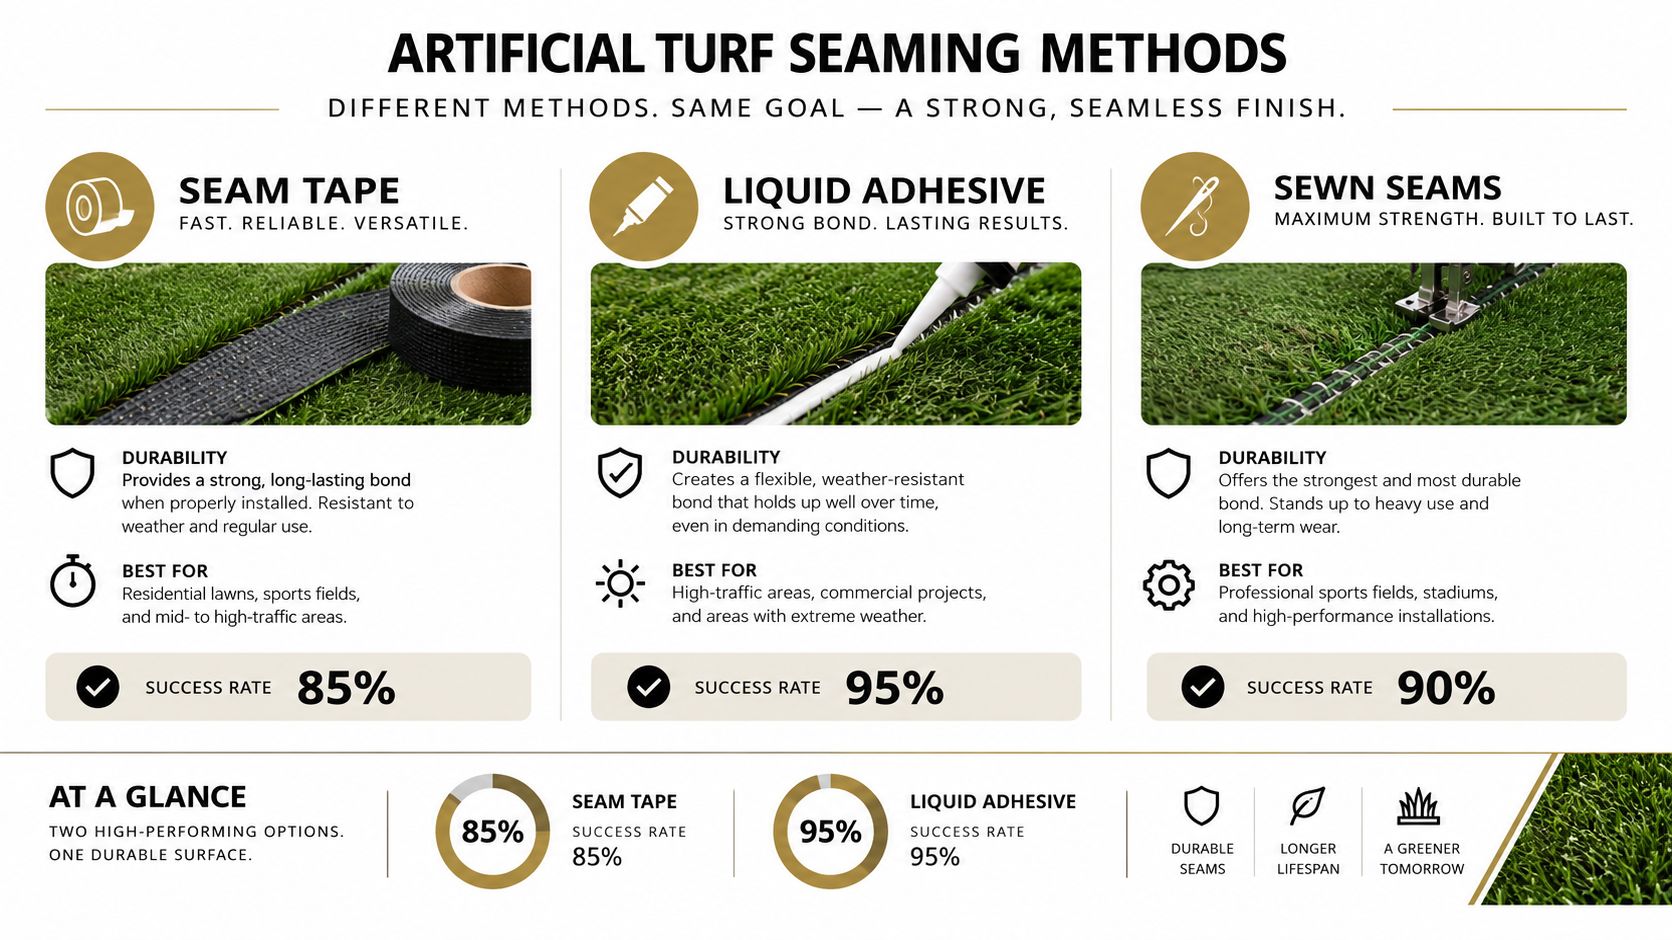
For a residential lawn with meaningful foot traffic, I favor non-adhesive seam tape paired with a compatible turf adhesive. Peel-and-stick products can suit small, light-use areas, but they offer less control over coverage and bonding conditions. Sports areas, pet runs, and busy access routes deserve the more deliberate tape-and-adhesive system.
Sewn joints are another option in applications where the specification calls for them. Public-sector specifications may require high-strength polyester or nylon stitching, while the EN 12228:2013 standard defines test methods for joint strength on synthetic sports surfaces.
The performance target is measurable. AFL and Cricket Australia standards require stitched joints to reach 1200 N per 100 mm and bonded joints 75 N per 100 mm, both before and after simulated ageing in hot water at 70°C for 14 days. Those benchmarks prove that seam work is an engineering issue, not a cosmetic afterthought.
What a good quote should identify
Ask which tape width the installer will use, what adhesive system is compatible with the turf backing, and how the crew will verify the finished gap. The turf layers used in the complete system matter because a seam is only as stable as the base, drainage layer, and backing beneath it.
A strong proposal should also explain grain direction, base preparation, moisture control, and curing protection. If the quote only says “seam included,” it hasn't told you enough.
The Professional Installation Process
Professional seam work starts with the base, not the roll of grass. The installer needs a firm, even, well-drained surface that won't settle differently under each panel. Loose aggregate, trapped moisture, and an unpinned fabric layer create movement that eventually transfers into the joint.
Once the base is ready, the crew lays both panels in the same manufactured grain direction. This is a visual quality check with structural consequences. If one roll faces the opposite way, the fibers reflect light differently and the joint can remain obvious even when the bond is strong.
Cut between the rows
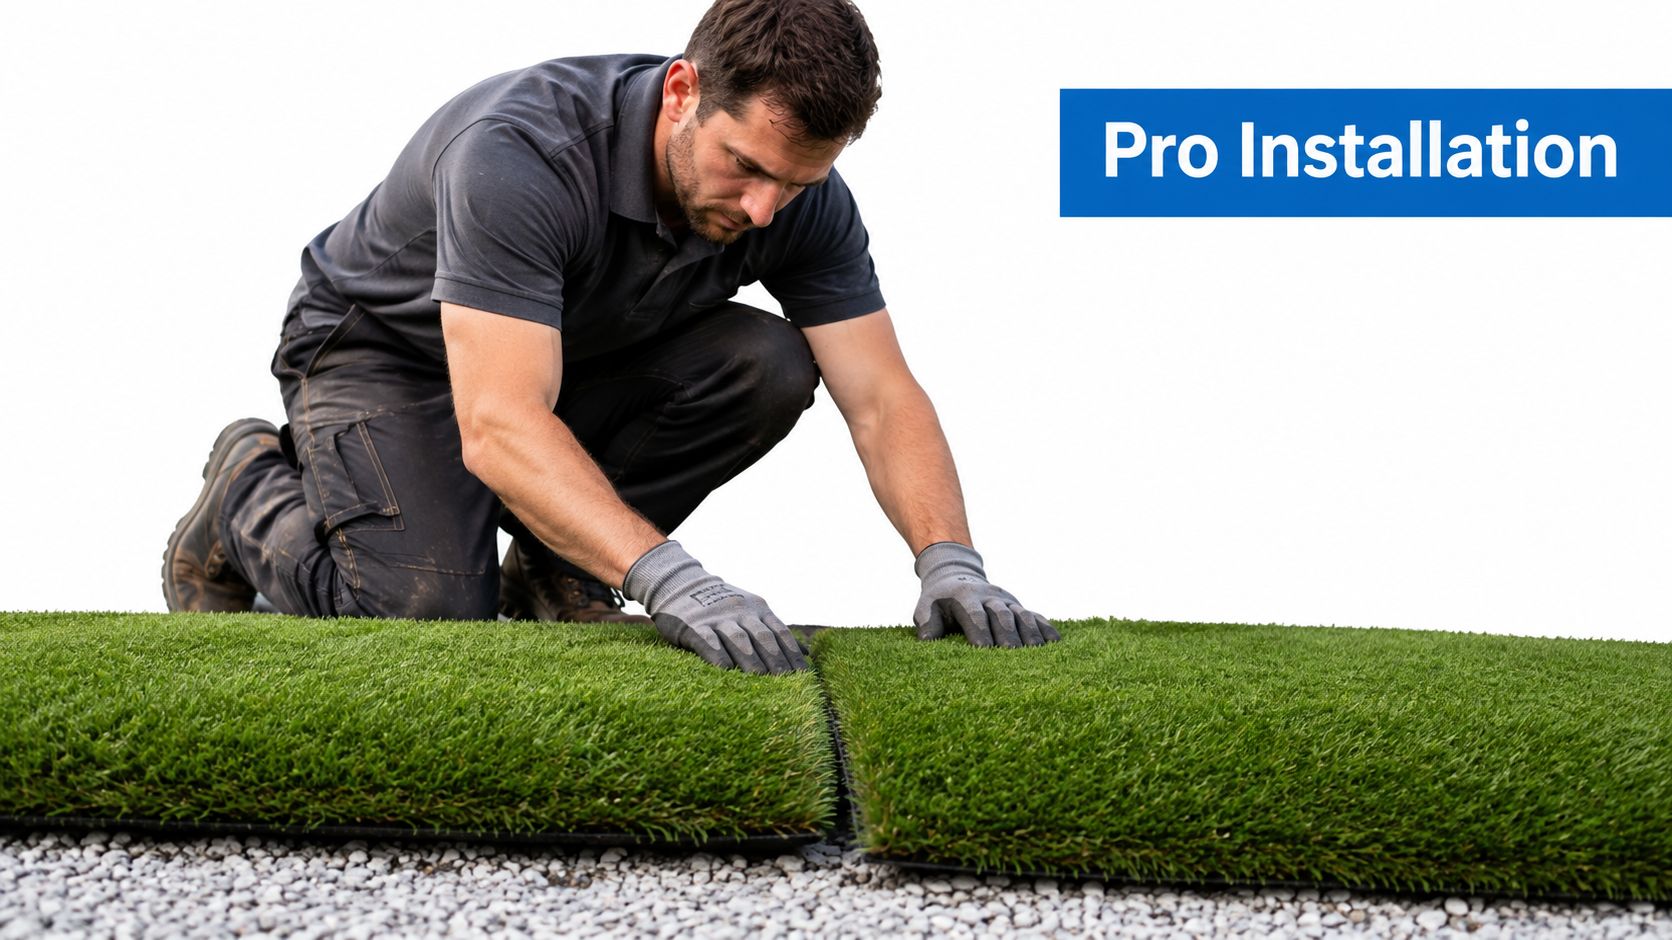
The cleanest cut follows the manufactured gauge. The installer aligns the panels, secures both sides, then cuts between the second or third gauge from the edge rather than cutting through a fiber row. That preserves the blade pattern and reduces the chance of a ragged line.
The joint shouldn't be forced tightly together. A controlled gap allows the blades to blend instead of bunching. One widely used method keeps a 2 to 3 mm gap, while the industry seam methodology calls for a minimal, uniform gap and limits many systems to 1/16 inch, or 2 mm. The exact tolerance depends on the turf construction, so the installer must follow the product specification rather than guess.
Center, bond, and press
After a dry fit, the crew folds the panels back without disturbing alignment. The tape goes centered beneath the joint. The tape surface must be clean, and manufacturer guidance says to trim it to the seam length with the release liner facing up before use, as described in these seam tape installation instructions.
The adhesive then covers the bonding area continuously. A common approach uses a continuous S-bead before both edges are lowered into place, while another field method spreads adhesive evenly at roughly 1/8 inch thickness. The product data sheet controls the final bead pattern. Too little adhesive leaves dry zones. Too much squeezes into the joint and traps fibers.
The installer closes the seam gradually, checks the blades, and presses along the full length. Rolling matters because it transfers consistent pressure across the tape instead of leaving isolated bonded spots. The seam then stays protected while the adhesive cures. Walking, brushing, or loading it too early can shift the alignment before the bond has developed.
For a complete workflow rather than a shortcut, review how to install artificial turf, then compare the job against the manufacturer's adhesive instructions.
Diagnosing Common Seam Failures
Not every visible seam means the turf is failing. Start by separating appearance defects from bond defects.
A visible line with intact backing may come from mismatched grain direction, different tuft-row spacing, or panels that weren't aligned at the manufactured gauge. The turf can look like two shades of green even though the adhesive remains secure. That problem usually requires careful grooming or a layout correction, not immediate replacement.
Structural failure presents differently. Look for an edge that lifts when pressed, a gap that widens under traffic, ridging along the joint, frayed backing, loose infill, or adhesive that has broken away from the tape. The failure guidance for synthetic turf installations connects serious breakdown with adhesive failure, contamination, moisture under the tape, temperature swings, and base movement.
A simple inspection framework
- Check the line: A straight, flat line may be cosmetic. An irregular opening or raised ridge needs closer attention.
- Press the edges: Stable edges should not lift easily. Movement suggests a bond or base problem.
- Look underneath the symptoms: Moisture, dirt, and shifting subgrade can keep a repair from holding.
- Follow the traffic: Repeated crossings, pet runs, and access paths concentrate stress where seams are least forgiving.
Austin heat increases the consequences of poor preparation. Thermal cycling expands and contracts materials, while irrigation, rain, and cleaning can introduce moisture. Recent guidance on turf replacement and seam stress emphasizes that repeated traffic, thermal cycling, moisture infiltration, and subgrade movement can drive separation.
A small cosmetic mismatch might be manageable for a careful homeowner. A lifted seam, wet base, or damaged backing isn't a sensible DIY repair. Pulling it apart without correcting the foundation often creates a cleaner-looking failure that returns quickly.
Maintaining Seams for Longevity
Maintenance starts with keeping damaging material away from the joint. Remove leaves, soil, and pet debris with a soft brush or blower, then rinse when needed without forcing water beneath a lifted edge. Harsh scraping can disturb fibers and expose the backing.
Brush the turf in the natural direction with a suitable synthetic-turf broom. Work gently across the seam instead of driving the bristles into the joint. Grooming restores the blade position and helps hide minor visual differences, but it won't repair a separating bond.
Pay attention after Texas weather
Inspect the main traffic routes after periods of intense heat, heavy rain, or repeated watering. Gates, patio transitions, pet paths, and putting-green contours deserve extra attention because people and animals cross them repeatedly. Look for new gaps, ridges, fraying, or infill collecting beside the joint.
If you spot movement, stop dragging furniture or equipment across the area. Document the location and call for an assessment before water and foot traffic enlarge the defect. A professional artificial turf maintenance service can distinguish grooming needs from a bond or base repair.
Do not pour extra adhesive into a visible gap without identifying the cause. Contaminated surfaces, moisture, and movement below the tape can defeat a repair, no matter how much product you apply.
Why Expert Installation Matters
Artificial turf seams fail when installers treat them as a finishing touch. The crew has to control the base, drainage, grain direction, cut line, gap, tape position, adhesive coverage, pressure, and curing conditions. Miss one of those controls and the seam can become the first visible sign that the entire installation was rushed.
DIY tutorials are useful for understanding the vocabulary and spotting obvious problems. They're reasonable for a small, dry, low-traffic project when you can prepare the base properly and follow the exact turf and adhesive specifications. They aren't a substitute for professional judgment when the lawn includes multiple panels, pet traffic, drainage concerns, slopes, putting-green contours, or a seam beside a high-use access route.
A professional installer also knows when not to place a seam. Moving the joint away from a gate or redesigning the panel layout can reduce future stress before any adhesive is spread. That decision saves more trouble than trying to disguise a badly positioned joint after installation.

Modern Yard Landscapes provides artificial turf design, installation, seam joining, edge finishing, drainage work, maintenance, putting greens, and pet-friendly dog runs across the Austin area. The company describes its service as fully insured and backed by a total satisfaction guarantee, with warranty packages and site preparation that addresses drainage, access, and topography.
Your lawn should look continuous because the system beneath it is stable, not because someone brushed infill over a weak joint. If you're seeing separation, don't wait for the gap to spread. Have the seam and its base inspected before a small repair becomes a full replacement.
Modern Yard Landscapes can evaluate artificial turf seams, correct drainage and base issues, and install or repair turf with the right tape, adhesive, alignment, and edge finishing for Austin conditions. Visit Modern Yard Landscapes to schedule a consultation and get a clear recommendation for your lawn, pet area, commercial surface, or putting green.